Virtual Machines:VirtualBox, Hyper-V, and Proxmox setup Guide.

In today’s IT world, Virtual Machines (VMs) have become one of the most essential tools for home labs, developers, students, and enterprise environments. Whether you’re testing new software, running multiple operating systems, or creating your own homelab, a virtual machine lets you do all that — on a single physical computer.
This blog will explain, What a Virtual Machine is, Advantages and types of virtualization, Step-by-step setup using:
- VirtualBox (Free for everyone)
- Windows Hyper-V (Built into Windows Pro/Enterprise)
- Proxmox VE (Bare-metal hypervisor for homelabs & servers)
What Is a Virtual Machine?
A Virtual Machine is a software-based computer that runs inside your physical computer. It has its own CPU, RAM, Storage, and Network, but all are virtual and shared from your real hardware. A Hypervisor manages those virtual resources and allocates them to each VM.
Example: You can run Linux or macOS inside Windows, or Windows inside Linux, without needing multiple physical computers.
Advantages of Virtual Machines
| Advantage | Description |
|---|---|
| Cost Saving | No need to buy multiple PCs/servers |
| Multiple Operating Systems | Run Windows, Linux, and other OS on one machine |
| Safe Testing | Test apps, viruses, updates, or scripts safely in isolated environments |
| Snapshots & Backup | Save VM state, roll back anytime |
| Better Hardware Utilization | Maximize usage of CPU & memory on powerful systems |
| Easy to Move/Migrate | VMs are files — just copy & run on another host |
Types of Virtualization / Hypervisors
| Type | Name | Where It's Used |
|---|---|---|
| Type 1 Hypervisor | Proxmox, VMware ESXi, Hyper-V Server | Runs directly on hardware (best performance) |
| Type 2 Hypervisor | VirtualBox, VMware Workstation | Runs on top of Windows/Linux/macOS host |
How to Set Up a Virtual Machine
Setup a VM Using VirtualBox (Windows, macOS, Linux)
Best for: Beginners, students, developers, personal use
Type: Type-2 Hypervisor (Free)
Steps:
- Download and install VirtualBox from Oracle
- Download an ISO (Windows or Linux OS)
- Open VirtualBox → Click New
- Enter VM Name → Select OS Type (Windows/Linux)
- Allocate RAM (2GB minimum for Linux, 4GB for Windows)
- Create virtual hard disk (20–50GB recommended)
- Go to Settings → Storage → Select ISO
- Start the VM → Install OS normally
Your VM is ready! You can now install apps, take snapshots, and experiment safely.
Setup a VM Using Windows Hyper-V
Best for: Windows Pro/Enterprise users, IT Pros
Type: Type-1 Hypervisor (runs on Windows core)
Enable Hyper-V:
- Go to Control Panel → Turn Windows features ON/OFF
- Check Hyper-V and Restart
Create a VM in Hyper-V:
- Open Hyper-V Manager
- Click New → Virtual Machine
- Choose Generation 1 or 2 (Gen-2 for modern OS)
- Assign RAM
- Create a Virtual Switch (External/Internal)
- Attach ISO file
- Start VM → Install OS
Hyper-V gives better networking performance and works great on Windows hosts.
Setup a VM in Proxmox VE (Bare-Metal Hypervisor)
Best for: Homelabs, servers, NAS builds, running many VMs/LXC containers
Type: Type-1 Hypervisor (runs on hardware)
Steps:
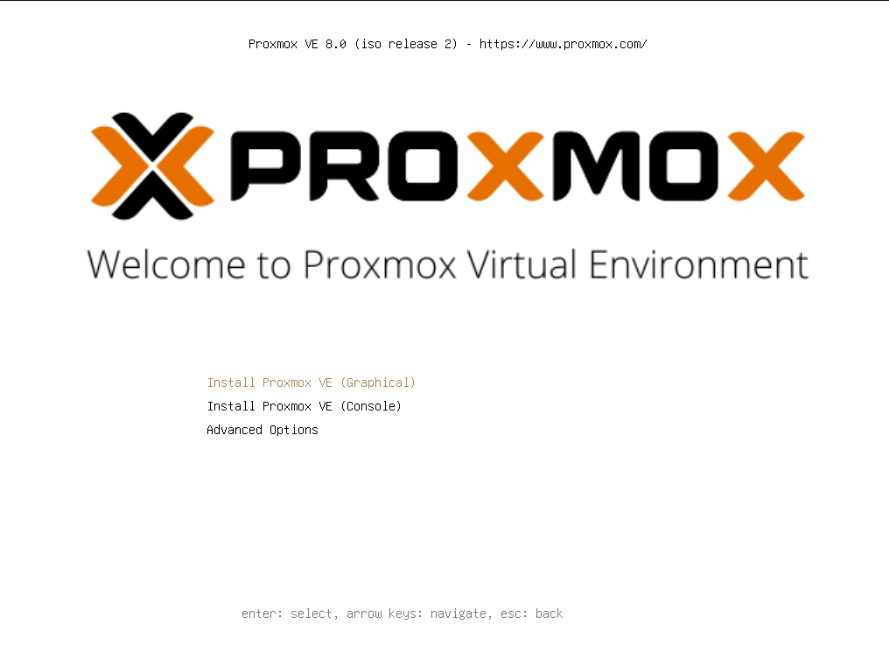
- Download Proxmox VE ISO
- Flash to USB (Rufus / BalenaEtcher)
- Boot your mini-PC/server from USB
- Install Proxmox → Set root password and IP
- Go to a browser and open:
https://your-proxmox-ip:8006 - Upload your OS ISO (Windows/Linux)
- Click Create VM
- Assign CPU, RAM, and Storage
- Attach ISO → Start VM → Install OS
Proxmox is extremely powerful — supports Snapshots, Backups, GPU Passthrough, VLAN, ZFS, and Clustering.
Final Thoughts
| Platform | Best For |
|---|---|
| VirtualBox | Beginners, students, simple testing |
| Hyper-V | Windows power users & IT professionals |
| Proxmox | Homelab, server environment, multiple VMs |
Virtualization opens up endless possibilities — from learning Linux, hosting your own services, running Docker, to building a full home-lab environment.
Thank you so much for taking the time to read my blog post! Your support and engagement truly mean a lot and inspire me to keep creating and sharing more valuable content. If you enjoyed this post, I’d love to hear your thoughts—feel free to leave a comment in the box below and join the conversation. And if you’d like to stay updated with the latest posts, tips, and insights, don’t forget to subscribe to my newsletter. By joining, you’ll be the first to know when new content is published, so you never miss an update.
Supporter culture is shaped by chants, colours, badges, and the shirts worn on matchday when the colours and details become familiar symbols of belonging. Conversations about gift selection for football fans help explain why two shirts from the same club may appeal to different fans. For supporters studying famous shirt designs, Borussia Dortmund football shirt is a clear search phrase for readers comparing styles and versions. When a national team shirt is remembered, the shirt can carry both practical value and a sense of belonging.