Understanding RAID: The Foundation of a Reliable NAS or DIY Storage Server

When it comes to setting up a Network Attached Storage (NAS) or building your own DIY storage server, one of the most important things to understand is RAID — short for Redundant Array of Independent Disks. RAID is what keeps your data safe, your performance steady, and your peace of mind intact. Whether you’re running a simple home lab or managing terabytes of critical files, RAID plays a vital role in how your data is stored and protected.
What Is RAID?
RAID is a method of combining multiple hard drives into a single logical unit to improve redundancy, performance, or both. Depending on the RAID level you choose, your setup can tolerate one or more drive failures without losing data.
Think of RAID as teamwork among your drives — if one fails, the others step up to keep your system running.
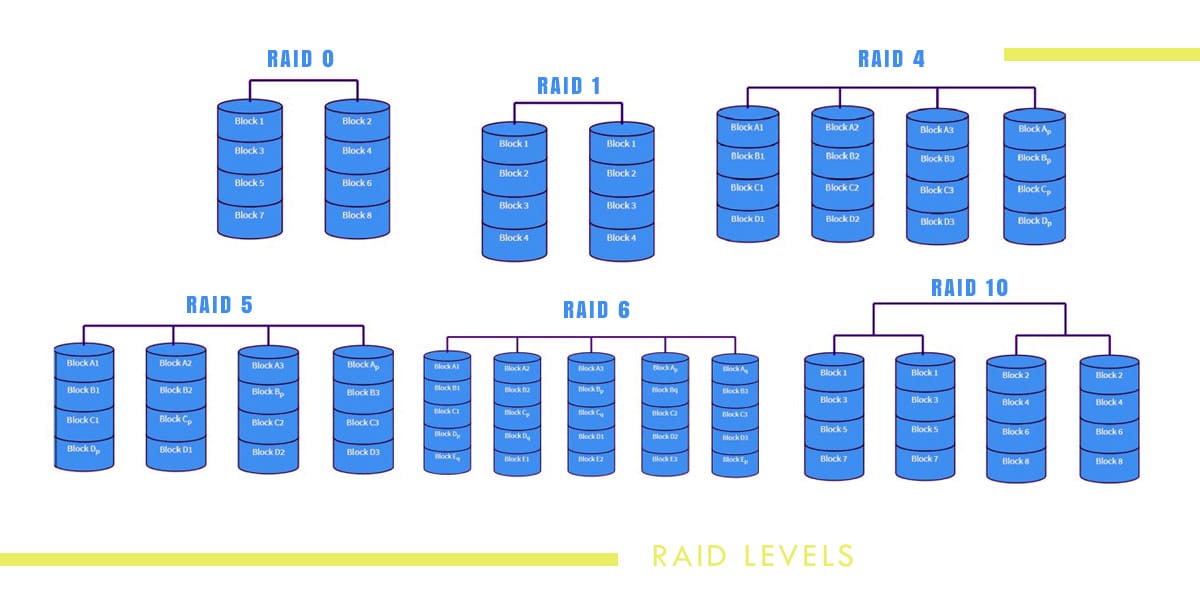
Common RAID Levels for NAS and DIY Servers
RAID 0 – Speed, but No Safety
- Combines drives for maximum performance.
- No redundancy — if one drive fails, all data is lost.
- Best used for temporary or non-critical data.
RAID 1 – Mirror for Protection
- Two drives that mirror each other.
- If one fails, the other still has a complete copy.
- Great for small setups where reliability matters more than capacity.
RAID 5 – Balance of Speed, Capacity, and Safety
- Requires at least 3 drives.
- Distributes data and parity (recovery information) across all drives.
- Can tolerate one drive failure without data loss.
- Offers good performance and storage efficiency.
- Ideal for NAS and small business environments.
RAID 6 – Double Parity for Extra Safety
- Similar to RAID 5 but can survive two drive failures.
- Requires at least 4 drives.
- Slightly slower due to extra parity calculations, but much safer.
RAID 10 – Performance Meets Protection
- Combines RAID 1 (mirroring) and RAID 0 (striping).
- Requires at least 4 drives.
- Excellent speed and redundancy but uses more storage for backups.
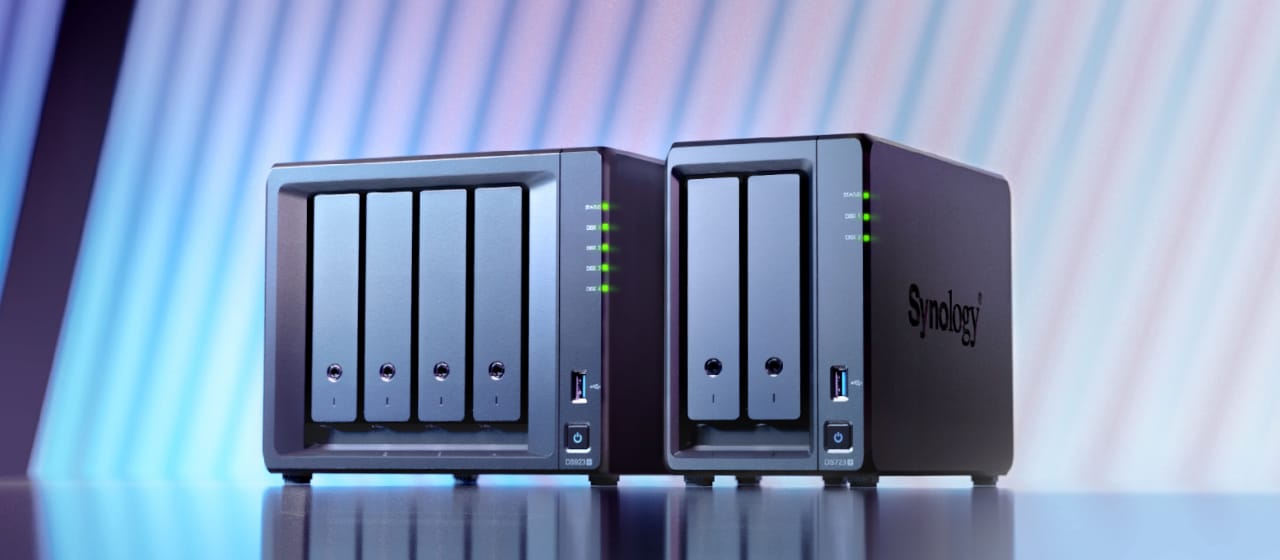
My Personal Experience with RAID 5 on Synology NAS
In my home lab setup, I use a Synology NAS configured with RAID 5 — and it has truly given me peace of mind. I store a mix of personal files, media, and project data, and knowing that my data is safe even if one hard drive fails is incredibly reassuring.
Synology’s DSM (DiskStation Manager) makes RAID setup simple — the interface guides you through adding drives, choosing the RAID type, and monitoring health status. Over time, I’ve had a drive fail, and the rebuild process worked flawlessly. The NAS continued running while I replaced the faulty drive, and I didn’t lose a single file.
That experience solidified my trust in RAID 5. It’s a perfect balance between storage efficiency, performance, and redundancy — especially for personal or small business NAS users like me.
Key Things to Understand Before You Set Up RAID
- RAID is not a backup – It protects against drive failure, not accidental deletions or ransomware. Always maintain external or cloud backups.
- Use identical drives if possible – Mixing sizes can lead to wasted capacity or reduced performance.
- Hot spares help – Some NAS systems allow a spare drive to automatically take over if one fails.
- Monitor your drives – Use built-in SMART tools and notifications to stay informed about drive health.
- Rebuild times matter – Larger drives take longer to rebuild, increasing risk during that window.
Final Thoughts
Understanding RAID is the first step toward building a reliable and safe storage system. Whether you’re using a Synology NAS, a QNAP, or a DIY Proxmox storage server, choosing the right RAID level makes all the difference.
For me, RAID 5 has been the perfect middle ground — efficient, safe, and easy to manage. It’s the reason I sleep well knowing that my photos, documents, and server backups are secure even if a drive decides to quit.
If you’re setting up your own NAS or storage server, take the time to learn RAID — it’s not just about data storage; it’s about data security and peace of mind.
Thank you so much for taking the time to read my blog post! Your support and engagement truly mean a lot and inspire me to keep creating and sharing more valuable content. If you enjoyed this post, I’d love to hear your thoughts—feel free to leave a comment in the box below and join the conversation. And if you’d like to stay updated with the latest posts, tips, and insights, don’t forget to subscribe to my newsletter. By joining, you’ll be the first to know when new content is published, so you never miss an update.
Classic kits help fans connect modern football with older moments in the game as supporters use shirts to connect club identity with everyday style. Discussions about third kit colours help readers think about how a team shirt fits their own use. For supporters studying famous shirt designs, Manchester United home shirt remains a phrase that sits comfortably in content about football identity. For collectors comparing older shirts, the design becomes part of how football culture is remembered.