Setting Up Cloudflare and NGINX Proxy to Get SSL (HTTPS) on Your Domain


When hosting applications on your homelab, one of the most important steps is to secure your traffic with HTTPS. An SSL certificate ensures that data between your server and the client’s browser is encrypted and trustworthy. The good news is—you can get free SSL certificates for your domain using Cloudflare and NGINX Proxy Manager.
In this guide, we’ll walk through the process step-by-step.
Why You Need SSL
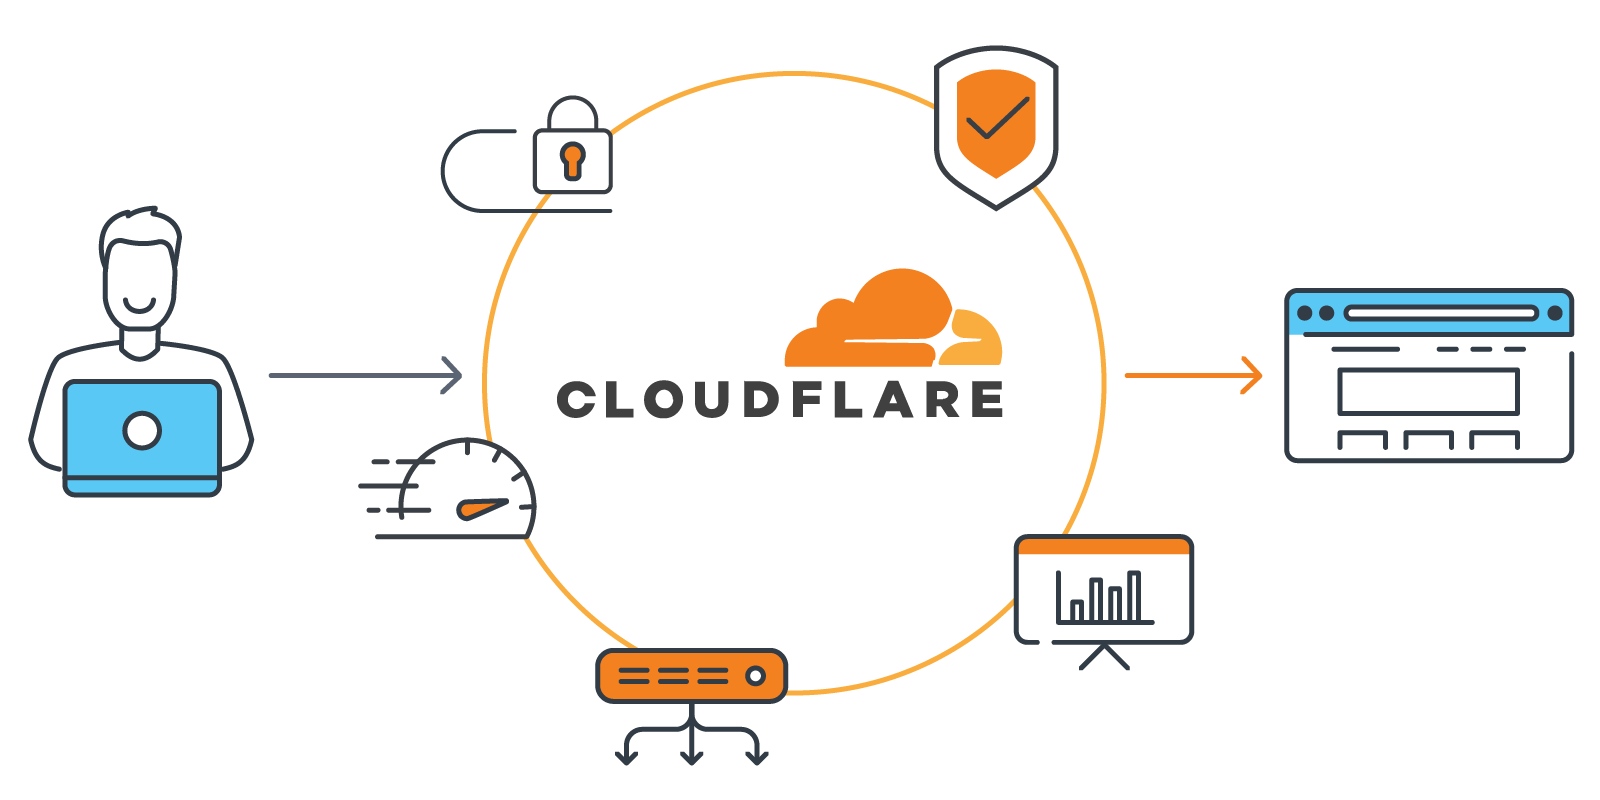
Without HTTPS, your traffic is unencrypted, leaving passwords, personal data, and API requests vulnerable to interception. Using Cloudflare and NGINX Proxy Manager makes SSL setup simple while giving you:
- ✅ Encrypted connections with free SSL
- ✅ Automatic certificate renewal
- ✅ Domain-level protection with Cloudflare
Step 1: Set Up Your Domain in Cloudflare
- Sign in to your Cloudflare dashboard.
- Add your domain (e.g.,
myhomelab.com). - Change your registrar’s nameservers to the ones provided by Cloudflare.
- Once verified, you’ll see DNS management options in Cloudflare.
Step 2: Point DNS to Your Server
- In the DNS settings, create an A record:
- Name:
home(orapp,nextcloud, etc.) - IPv4: Your home public IP (or Cloudflare Tunnel if you’re using it).
- Proxy status: Orange Cloud (Proxied) ☁️
- Name:
This ensures traffic goes through Cloudflare first.
Step 3: Install NGINX Proxy Manager
If you haven’t already, install NGINX Proxy Manager in your homelab. (See my NGINX Proxy Manager installation guide).

With NGINX Proxy Manager, you can easily handle reverse proxies and SSL certificates via a simple web interface.
Step 4: Configure a Proxy Host
- Log in to your NGINX Proxy Manager dashboard.
- Go to Hosts → Proxy Hosts → Add Proxy Host.
- Enter your details:
- Domain Names:
app.myhomelab.com - Scheme:
http - Forward Hostname/IP: (your local service, e.g.,
192.168.1.50) - Forward Port: (e.g.,
8080)
- Domain Names:
- Save the host.
At this point, your service is proxied but still HTTP. Let’s add SSL.
Step 5: Enable SSL Certificates
- Edit your proxy host in NGINX Proxy Manager.
- Go to the SSL tab.
- Choose Request a new SSL Certificate.
- Select Let’s Encrypt.
- Check:
- ✅ Force SSL
- ✅ HTTP/2 Support
- ✅ HSTS Enabled (optional, for extra security)
- Click Save.
NGINX Proxy Manager will automatically request and install a Let’s Encrypt SSL certificate via Cloudflare.
Step 6: Verify HTTPS Access
Now visit your service:
👉 https://app.myhomelab.com
You should see a secure padlock in the browser, meaning your SSL certificate is active.
Extra Tips
- Wildcard SSL: If you want
*.myhomelab.com, you can request a wildcard certificate with Cloudflare DNS challenge. - Cloudflare SSL Mode: In Cloudflare → SSL/TLS settings, use Full (Strict) mode for maximum security.
- Auto Renewals: NGINX Proxy Manager renews certificates automatically, so you don’t need to worry about expiry.
Conclusion
By combining Cloudflare DNS and NGINX Proxy Manager, you can easily secure your homelab services with free SSL certificates. This setup not only provides HTTPS encryption but also hides your real IP behind Cloudflare, keeping your homelab safe and professional-looking.
Thank you so much for taking the time to read my blog! Your support and engagement truly mean a lot and inspire me to keep creating and sharing more valuable content. If you enjoyed this post, I’d love to hear your thoughts—feel free to leave a comment in the box below and join the conversation. And if you’d like to stay updated with the latest posts, tips, and insights, don’t forget to subscribe to my newsletter. By joining, you’ll be the first to know when new content is published, so you never miss an update.
The choice between modern and retro shirts often reveals what fans value most as the difference between authentic and fan styles can shape how a shirt is used. Conversations about club colour traditions give collectors a way to compare value, comfort, and emotional meaning. For fans weighing fit, fabric, and team identity, Juventus away shirt is a useful phrase within the wider story of football shirts. When a national team shirt is remembered, the discussion stays close to teams, supporters, and shared history.