Secure Your Homelab Using Cloudflare DNS Proxy

Running a homelab is fun and rewarding—it allows you to experiment, host your own applications, and learn enterprise-level technologies right from home. But there’s always one big challenge: security. Exposing your home’s public IP directly to the internet can make your setup vulnerable to attacks like port scans, brute-force attempts, and DDoS.
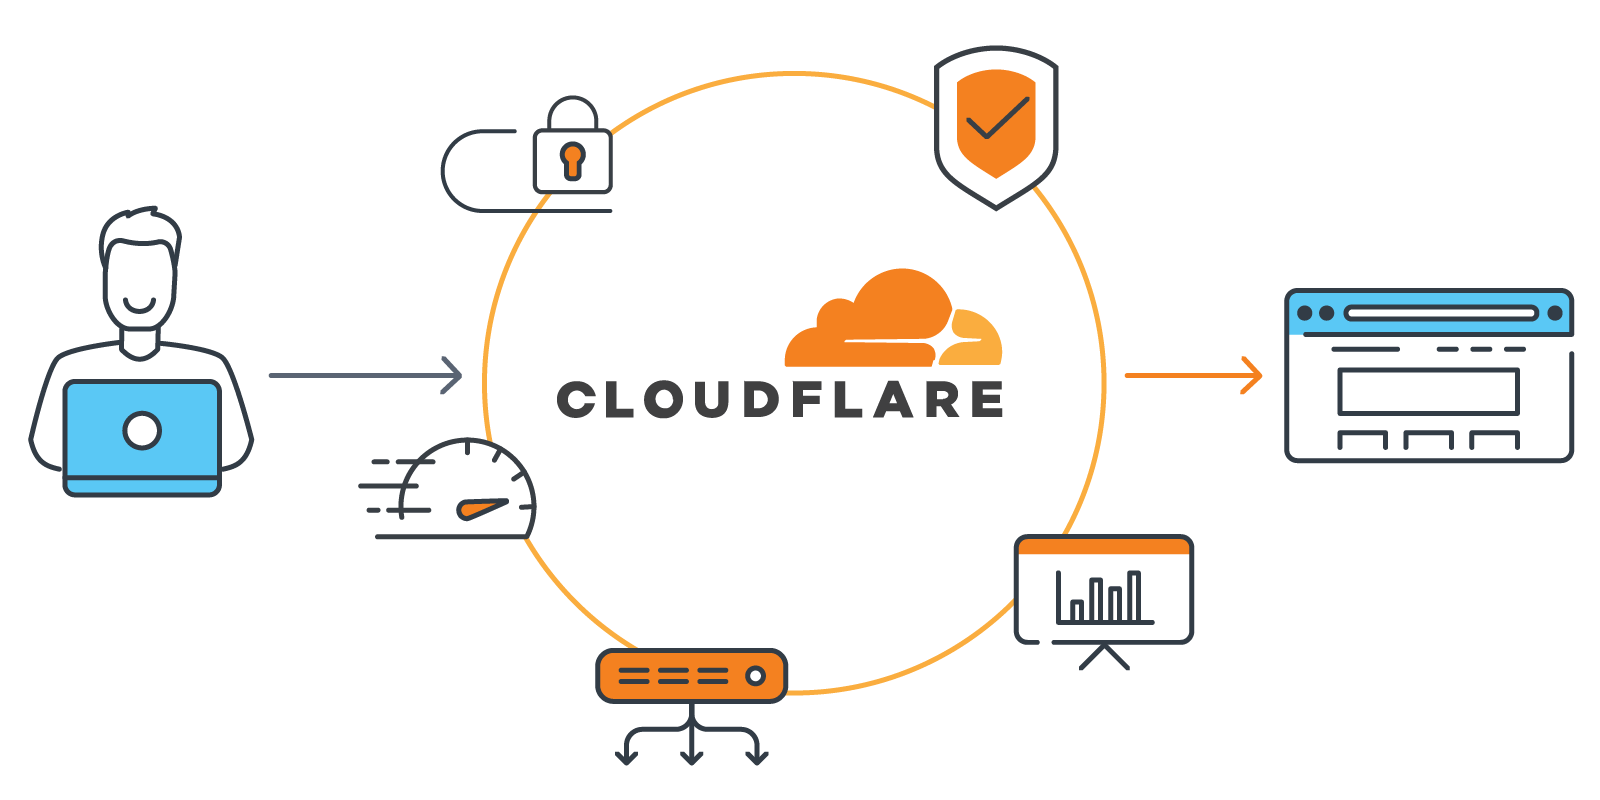
Thankfully, you don’t need to put your home IP out there for the world to see. By using Cloudflare’s DNS service with proxy, you can secure your homelab, hide your IP, and still make your services accessible from anywhere.
Why You Should Avoid Exposing Your Home IP
Your home internet connection wasn’t designed for hosting production services. When you expose your IP:
- Hackers can scan your open ports and attempt attacks.
- Your ISP may block or throttle traffic.
- DDoS attacks can take down your home internet.
Instead, Cloudflare acts as a shield—requests hit Cloudflare’s global servers first, and only then get securely routed to your homelab.
Step 1: Register a Domain Name
You’ll need your own domain to take advantage of Cloudflare’s proxy. You can buy one from any registrar (Namecheap, Google Domains, GoDaddy, etc.).
Example: myhomelab.com
Step 2: Point Your Domain to Cloudflare
- Sign up at Cloudflare.
- Add your domain to Cloudflare.
- Update your domain registrar’s nameservers to point to Cloudflare’s provided nameservers.
Cloudflare will now manage your DNS.
Step 3: Configure Dynamic DNS (if needed)
Most home ISPs use dynamic IPs that change over time. You’ll need to set up a Dynamic DNS updater so Cloudflare always knows your current IP.
You can use:
- Cloudflare DDNS script (runs on Raspberry Pi, Ubuntu, or any Linux server).
- Or tools like ddclient configured with Cloudflare API.
This ensures your home.mydomain.com always points to your current IP.
Step 4: Enable the Cloudflare Proxy (Orange Cloud ☁️)
In Cloudflare’s dashboard:
- Create a DNS A record for your service (example:
home.mydomain.com → your-home-ip). - Make sure the orange cloud icon is enabled.
This means traffic will pass through Cloudflare’s proxy instead of exposing your raw IP.
Step 5: Use Cloudflare Tunnel (Optional but Recommended)
Cloudflare offers Cloudflare Tunnel (Argo Tunnel), which lets you connect your homelab to Cloudflare without opening any ports on your router.
- Install the Cloudflare Tunnel client (cloudflared) on your homelab server.
- Authenticate with your Cloudflare account.
- Run a tunnel command to link your service:
cloudflared tunnel create homelab-tunnel
cloudflared tunnel route dns homelab-tunnel home.mydomain.com
- Add your service in the
config.yml:
tunnel: homelab-tunnel
credentials-file: /root/.cloudflared/<tunnel-id>.json

ingress:
- hostname: home.mydomain.com
service: http://localhost:8080
- service: http_status:404
- Start the tunnel:
cloudflared tunnel run homelab-tunnel
Now, Cloudflare handles all the incoming traffic securely, and your ISP IP stays hidden.
Benefits of Using Cloudflare Proxy & Tunnel
✅ Hide your public IP from attackers
✅ No need to open risky ports on your router
✅ Free SSL certificates for your domain
✅ Global CDN protection against DDoS attacks
✅ Works with self-hosted services (Nextcloud, Jellyfin, Portainer, etc.)
On my next post i will explain How to Set Up Cloudflare and NGINX Proxy to Get SSL (HTTPS) on Your Domain
Conclusion
Securing your homelab doesn’t have to be complicated. By using Cloudflare’s DNS proxy and tunnels, you can safely access your self-hosted apps without exposing your home IP. This adds a strong layer of protection while still giving you the convenience of remote access.
If you’re running a homelab today, I highly recommend setting up Cloudflare—it’s free, powerful, and keeps your personal network safe from unwanted eyes.
Thank you so much for taking the time to read my blog! Your support and engagement truly mean a lot and inspire me to keep creating and sharing more valuable content. If you enjoyed this post, I’d love to hear your thoughts—feel free to leave a comment in the box below and join the conversation. And if you’d like to stay updated with the latest posts, tips, and insights, don’t forget to subscribe to my newsletter. By joining, you’ll be the first to know when new content is published, so you never miss an update.
National team shirts can hold memories of tournaments, cities, and shared celebrations because it links personal memory with the wider culture of the game. Discussions about home and away kit collections help supporters choose between a modern look and a more nostalgic style. When choosing between modern and retro styles, France national team shirt for fans remains a phrase that sits comfortably in content about football identity. In a supporter collection, the shirt works as a cultural object as well as something to wear.