Introduction to Raspberry Pi: and How to Set One Up as a Server


The Raspberry Pi is a tiny yet powerful computer that has transformed the way people learn, experiment, and build technology. About the size of a credit card, it packs enough computing power to run a full operating system, connect to the internet, and handle everyday tasks like browsing, coding, or even streaming media.
Originally designed to teach programming and computer science in schools, Raspberry Pi has grown into a favorite among hobbyists, makers, and professionals. Today, it’s used for everything from robotics and smart home projects to gaming consoles, servers, and even AI applications. Thanks to its affordability, energy efficiency, and flexibility, Raspberry Pi has become one of the most popular SBC (single-board computers ) in the world.

What is Raspberry Pi?
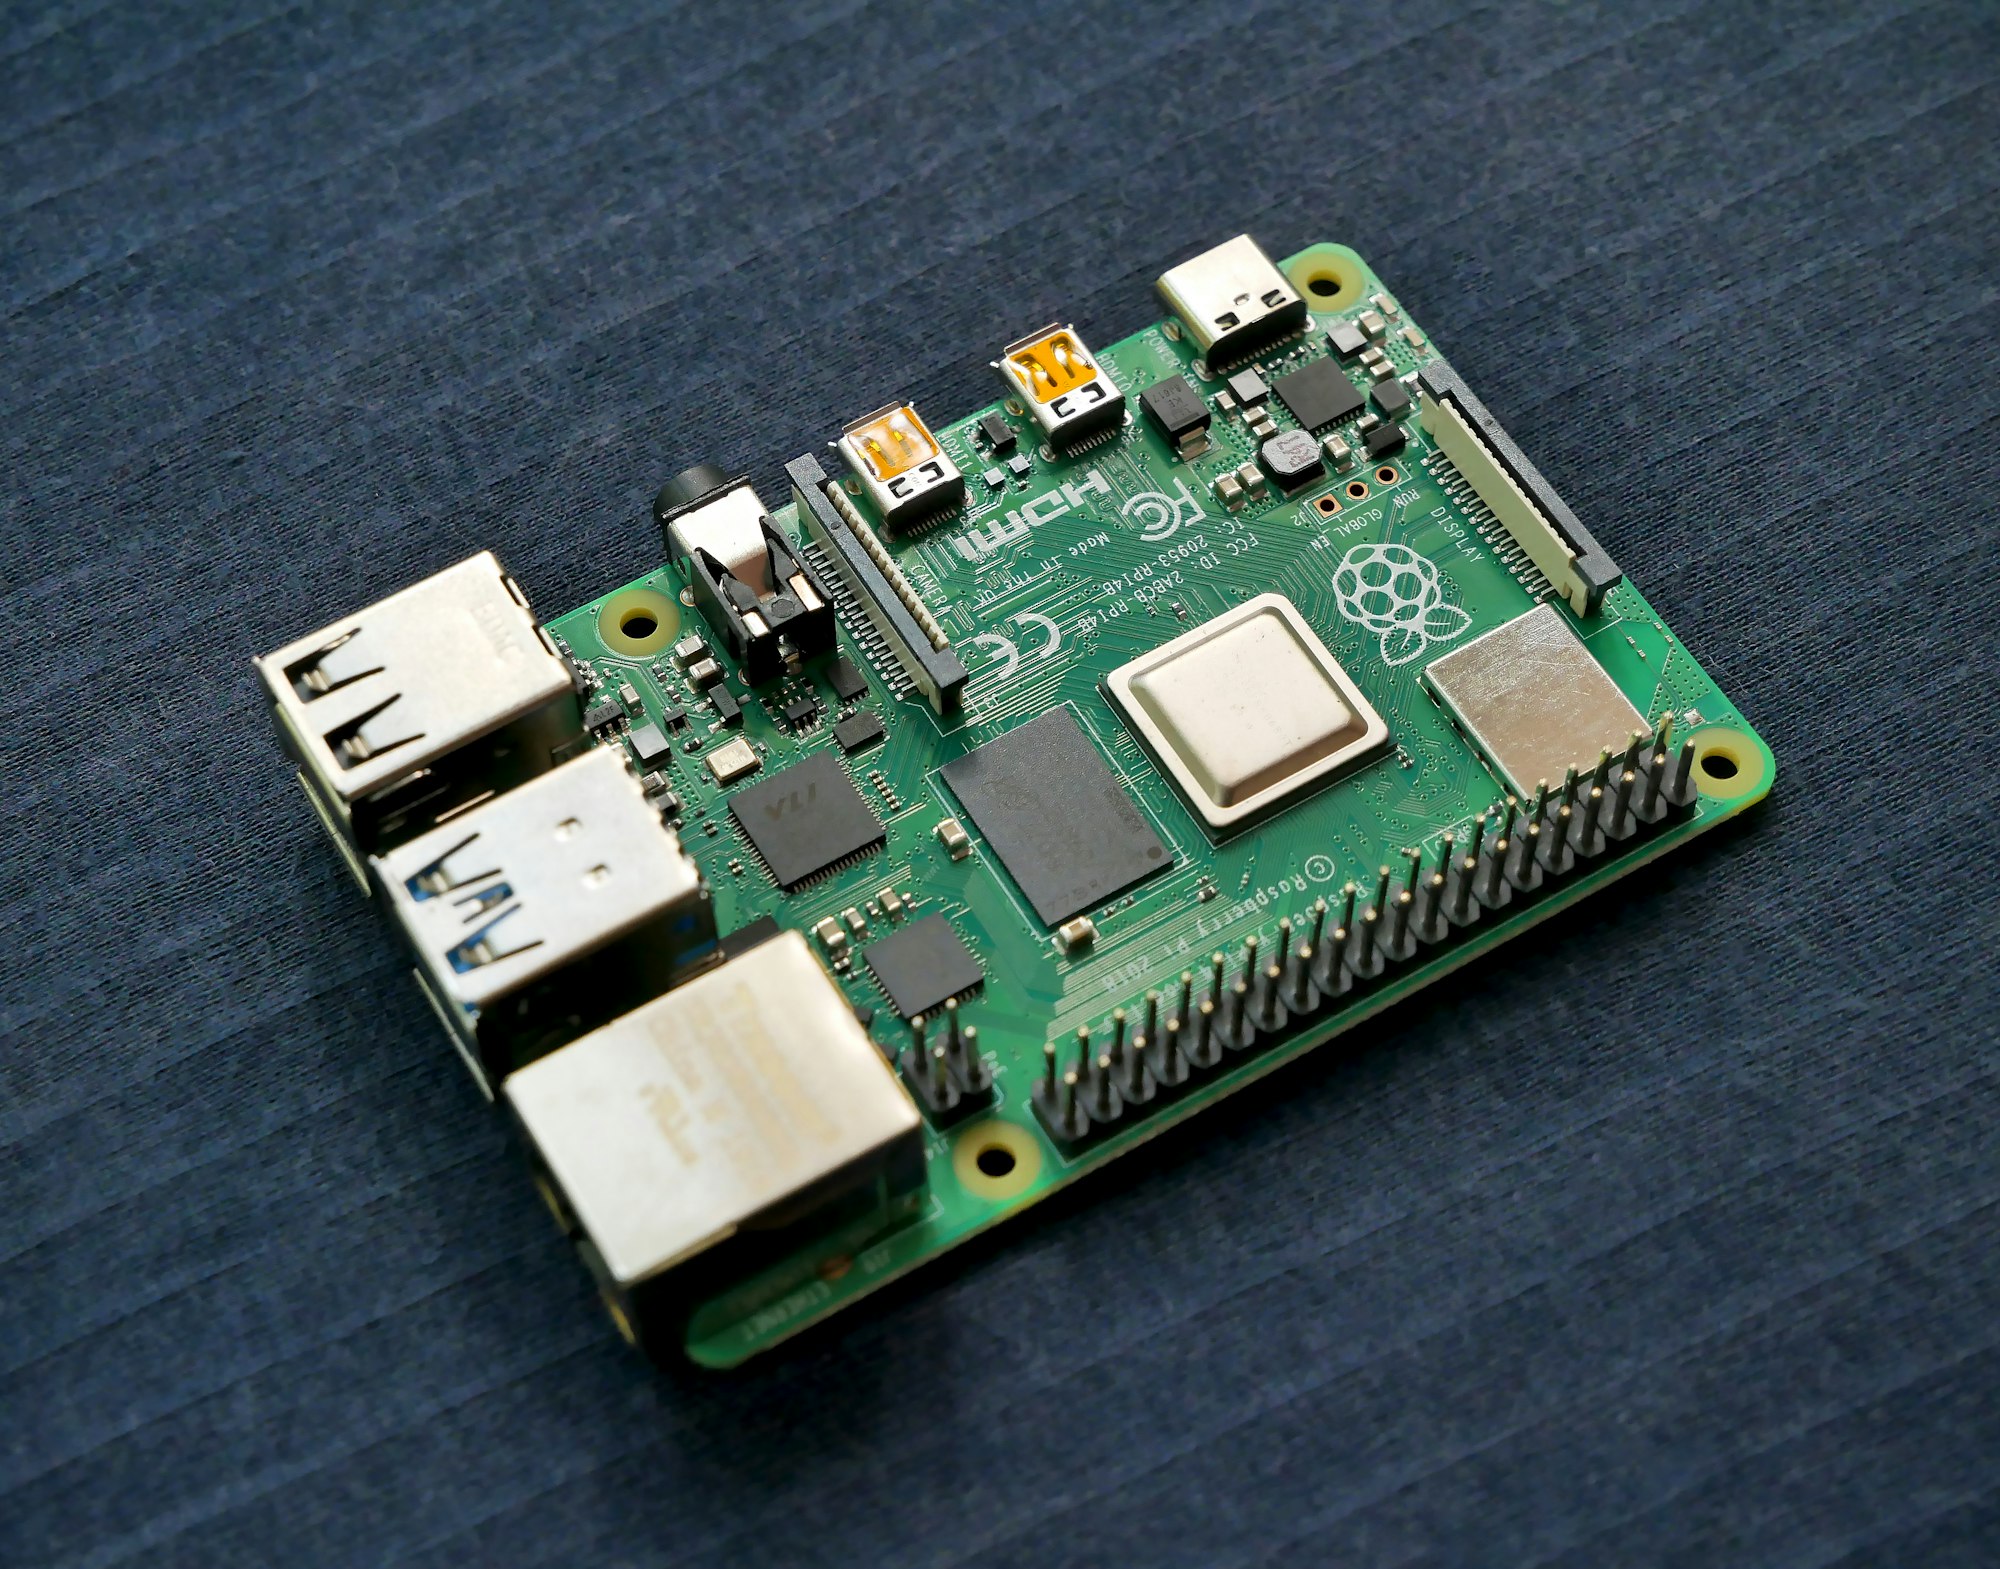
The Raspberry Pi is a credit card-sized computer developed by the Raspberry Pi Foundation in the UK. Despite its small size, it comes with features you would expect from a standard PC, including:
- A processor (ARM-based CPU)
- RAM (varies by model) up to 16GB on pi 5
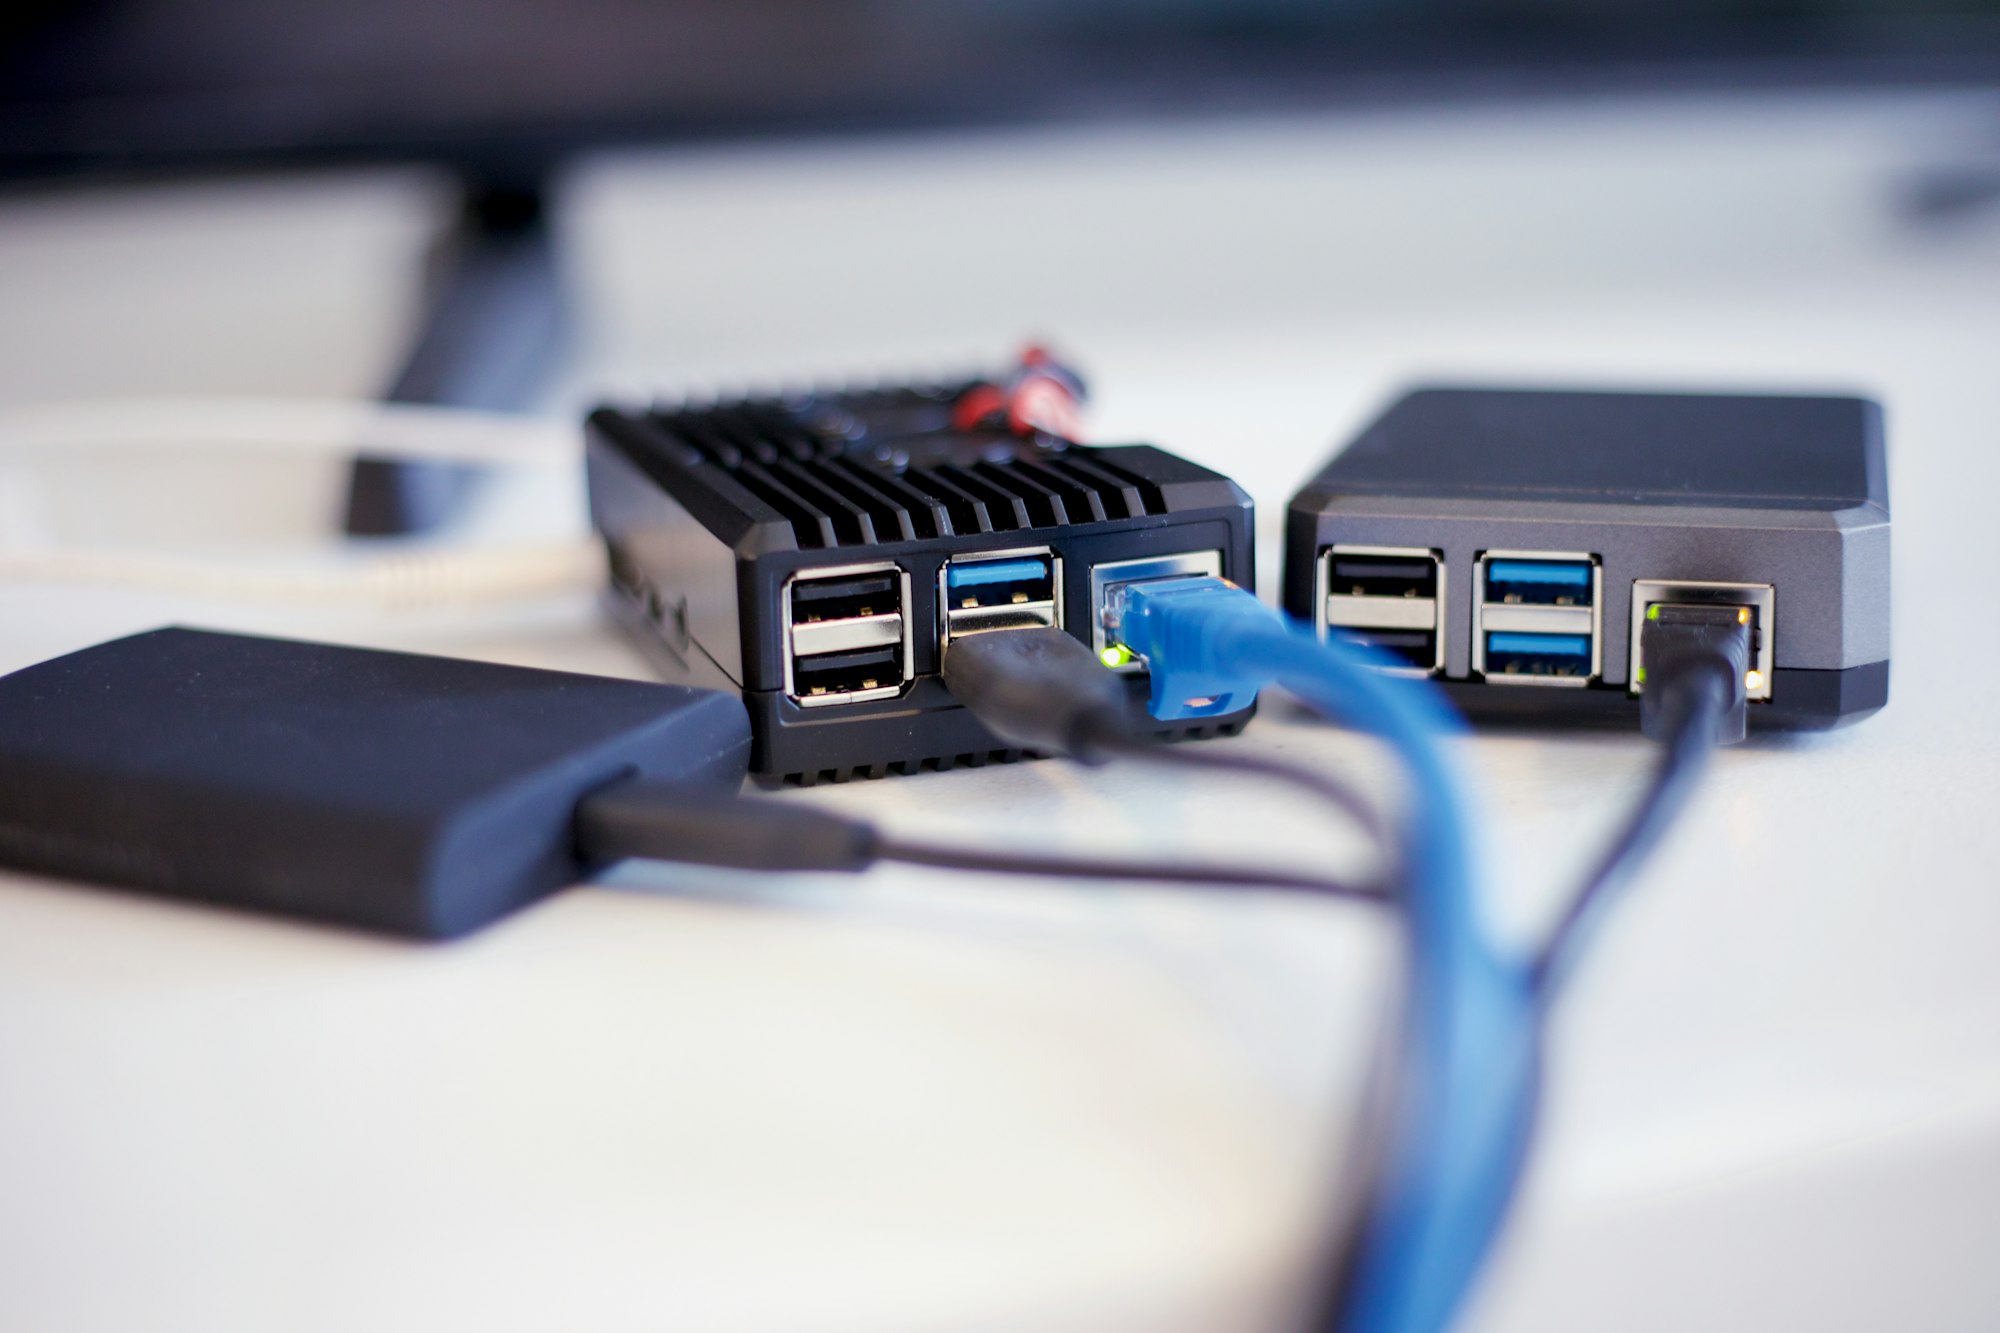
- USB ports
- HDMI output
- Networking (Ethernet or Wi-Fi)
- GPIO (General Purpose Input/Output) pins for hardware tinkering
You can connect it to a monitor, keyboard, and mouse to use it as a desktop PC or run it “headless” (without a monitor) as a server or IoT device. Its low cost, energy efficiency, and flexibility make it a favorite among developers, hobbyists, and educators.
Types of Raspberry Pi
Over the years, the Raspberry Pi has evolved through several generations and models. Here are the main types you’ll come across:
1. Raspberry Pi 1 (Model A and B)
- The very first generation, launched in 2012.
- Basic performance, suitable for simple projects.
2. Raspberry Pi 2
- Quad-core processor with better performance.
- Made it possible to run heavier applications.
3. Raspberry Pi 3 (Model B and B+)
- Integrated Wi-Fi and Bluetooth.
- A big step forward for IoT and networking projects.
4. Raspberry Pi 4 (Model B)
- Up to 8GB of RAM.
- USB 3.0 ports, Gigabit Ethernet, dual monitor support.
- A real alternative to low-cost PCs.
5. Raspberry Pi Zero / Zero W / Zero 2 W
- Ultra-compact and inexpensive.
- Ideal for small, portable projects.
- The Zero W includes Wi-Fi and Bluetooth.
6. Raspberry Pi 5 (Newest release)
- Released in 2023.
- Faster processor, PCIe support, improved GPU, and better I/O.
- Perfect for advanced workloads and modern server setups.
Why Use Raspberry Pi as a Server?
Running a server doesn’t always require a big, power-hungry machine. A Raspberry Pi can serve as:
- Web server (host your own website or blog)
- Media server (stream movies and music with Plex or Jellyfin)
- File server (NAS for home storage)
- VPN server (secure browsing from anywhere)
- DNS or Ad-blocking server (using Pi-hole)
It consumes very little power and can run 24/7 quietly in the background.
How to Set Up a Raspberry Pi as a Server
Here’s a step-by-step guide to get started:
1. Get the Hardware
- Raspberry Pi 4 or 5 (recommended for server tasks)
- MicroSD card (at least 16GB, Class 10)
- Power supply (official one preferred)
- Ethernet cable or Wi-Fi
- Case with cooling (optional but recommended)
2. Install an Operating System
- Download the Raspberry Pi Imager from the official site.
- Flash an OS onto your microSD card. For servers, good options are:
- Raspberry Pi OS Lite (minimal, command-line only)
- Ubuntu Server (more flexible, popular for servers)
3. Boot Up and Configure
- Insert the SD card, power up the Pi, and connect via monitor/keyboard or SSH.
- Run initial setup commands:
sudo apt update && sudo apt upgrade -y
- Enable SSH for remote access:sudo raspi-config
- Your Raspberry pi Server is ready to install application and serve.
Final Thoughts
The Raspberry Pi is more than just a learning tool — it’s a powerful, low-cost computer that can handle real-world server tasks. Whether you want to host your own website, stream movies, or build a secure VPN, a Pi is a fantastic entry point into the world of servers.
If you’ve got a Raspberry Pi lying around, why not put it to work and create your own server?
Thank you so much for taking the time to read my post! Your support and engagement truly mean a lot and inspire me to keep creating and sharing more valuable content. If you enjoyed this post, I’d love to hear your thoughts—feel free to leave a comment in the box below and join the conversation. And if you’d like to stay updated with the latest posts, tips, and insights, don’t forget to subscribe to my newsletter. By joining, you’ll be the first to know when new content is published, so you never miss an update.