How to Wipe Your Entire Windows Laptop/PC and Install Windows 11

Sometimes, starting fresh is the best way to give your computer a new life. Whether you’re upgrading hardware, fixing performance issues, or preparing to sell your device, a clean installation of Windows 11 ensures that your system is fast, secure, and clutter-free. In this guide, we’ll walk you through how to wipe your entire Windows laptop or PC and install Windows 11 from scratch.
Why Do a Clean Install?
A clean install removes everything from your system, including apps, settings, and files, giving you a brand-new Windows environment. Here are a few reasons you might want to wipe and reinstall:
- Your system is running slow despite troubleshooting.
- You want to get rid of malware or corrupted files.
- You’re upgrading from Windows 10 to Windows 11.
- You’re preparing your device for resale or gifting.
⚠️ Warning: A clean install deletes all files. Back up your important data before proceeding.
Step 1: Back Up Your Files
Before you wipe your system, save your important data to:
- An external hard drive or SSD
- A cloud service (OneDrive, Google Drive, Dropbox)
- A NAS or home server if you have one
Also, make a list of apps and software you’ll need to reinstall later.
Step 2: Create a Bootable Windows 11 USB Drive
- On another working computer, go to Microsoft’s official Windows 11 download page.
- Download the Media Creation Tool.
- Insert a USB drive (at least 8 GB, empty).
- Run the tool → Select Create installation media (USB flash drive) → Choose your language and version.
- Finish the process. This will prepare your bootable USB with Windows 11.
Step 3: Boot from the USB Drive
- Insert the USB into the computer you want to wipe.
- Restart your PC and enter the BIOS/UEFI setup (usually by pressing
F2,F12,Del, orEscright after powering on). - Change the boot order to prioritize USB drive.
- Save and exit BIOS – your PC will now boot from the USB.
Step 4: Wipe the Drive and Install Windows 11
- When the Windows Setup screen appears, select your language and click Next.
- Click Install Now.
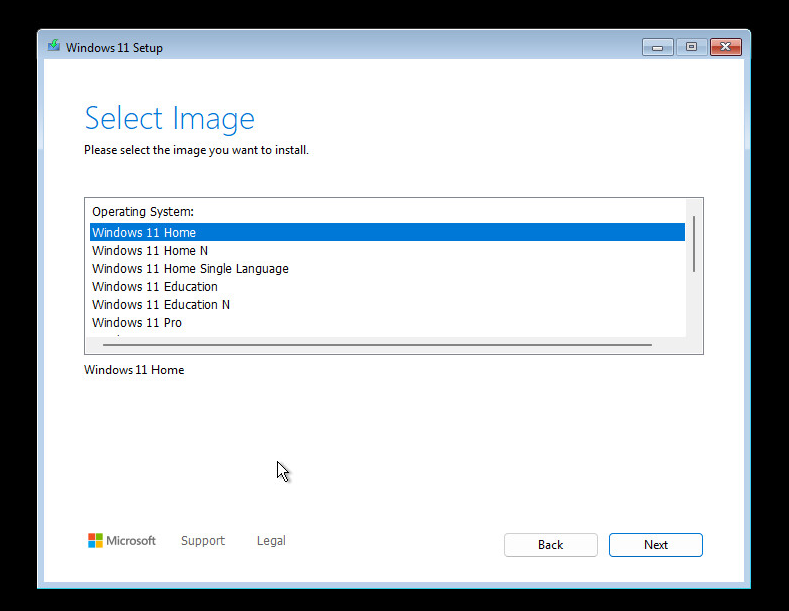
- If prompted for a product key, enter it (or choose I don’t have a product key if reinstalling on the same device – Windows will auto-activate later).
- Select Custom: Install Windows only (advanced).
- You’ll see all partitions on your drive.
- Delete all partitions one by one until you see Unallocated Space.
- Select the unallocated space and click Next.
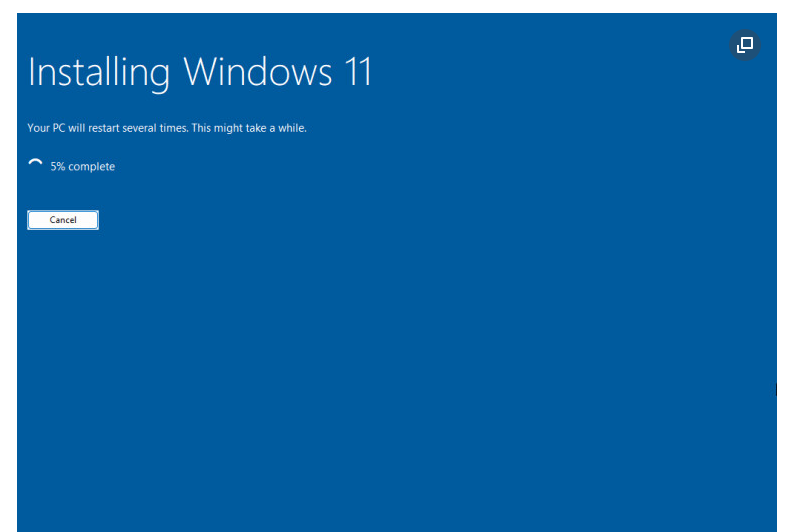
- Windows will now install fresh on your device. The process may take 15–45 minutes depending on your hardware.
Step 5: Complete the Setup
- After installation, Windows 11 will reboot and ask for initial setup details (region, language, Microsoft account login).
- Connect to Wi-Fi and sign in with your Microsoft account for full features.
- Customize privacy settings as you like.
Step 6: Reinstall Apps and Restore Files
Once Windows 11 is running, reinstall your apps and restore your backed-up files. Don’t forget to:
- Install device drivers (Windows usually does this automatically, but check your manufacturer’s website).
- Run Windows Update to ensure you’re fully patched.
- Reinstall security tools, browsers, and productivity apps.
Final Thoughts
Doing a clean install of Windows 11 might sound intimidating, but it’s actually straightforward if you prepare properly. You’ll enjoy a faster, cleaner, and more secure computer—just like new.
If you’re planning to sell or give away your laptop/PC, this method also ensures that none of your personal files remain on the device.
Thank you so much for taking the time to read my post! Your support and engagement truly mean a lot and inspire me to keep creating and sharing more valuable content. If you enjoyed this post, I’d love to hear your thoughts—feel free to leave a comment in the box below and join the conversation. And if you’d like to stay updated with the latest posts, tips, and insights, don’t forget to subscribe to my newsletter. By joining, you’ll be the first to know when new content is published, so you never miss an update.