How to Use Cloudflare CDN in WordPress (Step-by-Step)

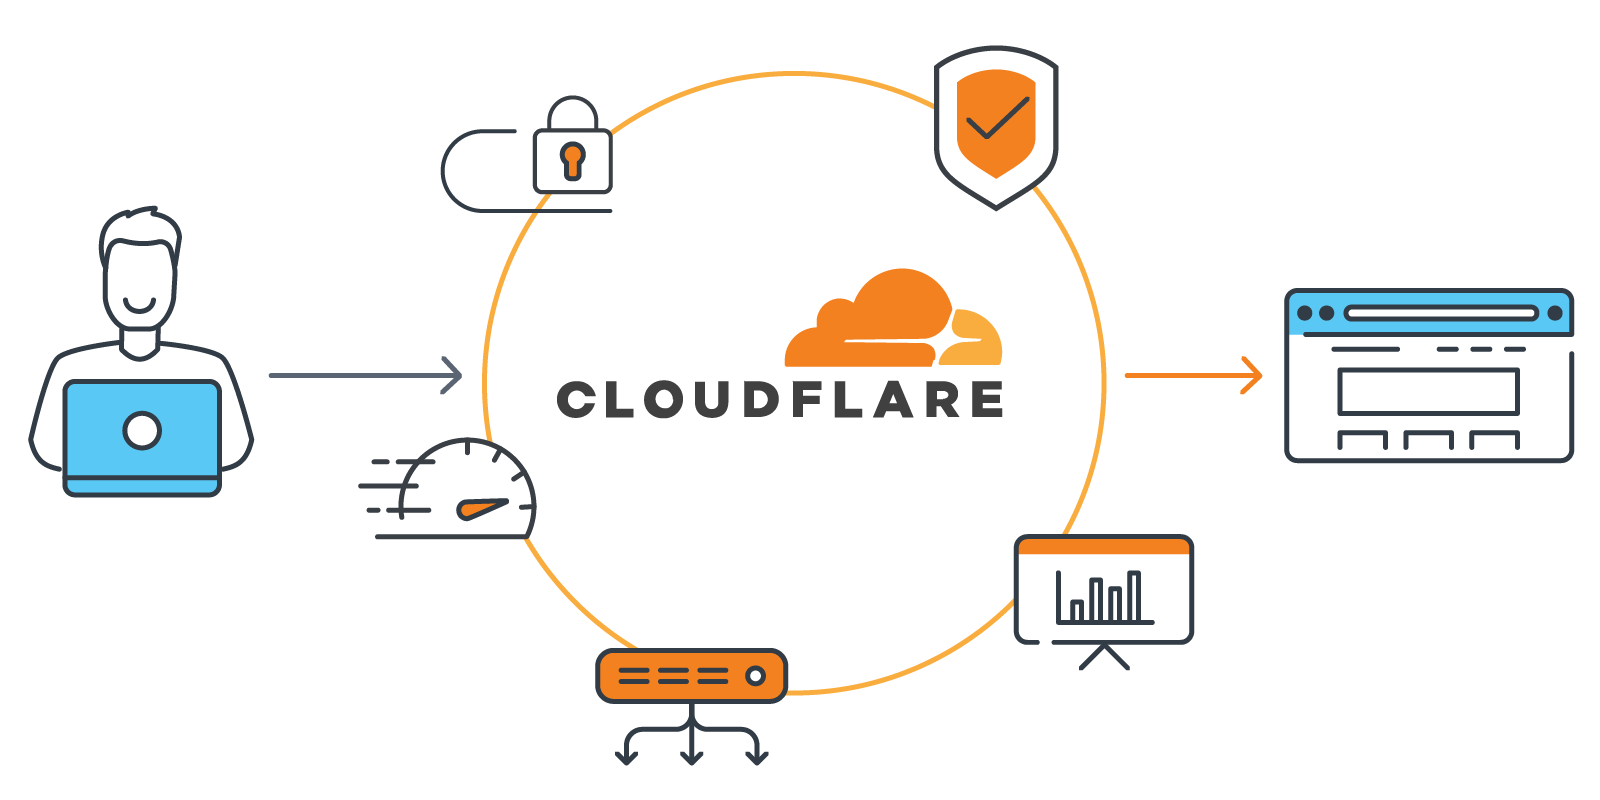
Cloudflare is one of the most popular content delivery networks (CDNs) and edge security platforms. When used with WordPress, it can help you:
- Improve page load times by serving cached content from data centers closer to your users
- Reduce server load
- Add a layer of protection (e.g. DDoS mitigation, web application firewall)
- Improve your site’s resilience and uptime
Below is a complete walkthrough for integrating Cloudflare CDN with WordPress.
What You Need Before You Start
Before you begin, make sure you have:
- A registered domain name
- A WordPress website (hosted somewhere)
- Access to your domain registrar’s DNS (or domain control panel)
- A Cloudflare account (you can start with their free plan)
Why Use Cloudflare’s CDN?
A quick refresher on what Cloudflare brings:
- It caches static assets (images, CSS, JS, etc.) in its global edge network, reducing latency for users far from your origin server
- It also acts as a reverse proxy, which means your origin IP is hidden behind Cloudflare, helping mitigate direct attacks
- You’ll get built-in features like SSL/TLS, DDoS protection, firewall rules, and analytics
- For WordPress, Cloudflare offers a plugin to help integrate its services seamlessly
The SpinupWP blog has a nice explanation of the benefits and setup process. SpinupWP
Step 1: Add Your Website to Cloudflare
- Log in (or sign up) to your Cloudflare account.
- Click “Add site” and enter your domain name (e.g.
example.com). - Choose a plan — for many sites, the Free plan is sufficient to start.
- Cloudflare will scan existing DNS records. Review them carefully and make sure all your subdomains, mail records, etc., are included.
Step 2: Change Your Name Servers to Cloudflare
- Cloudflare will provide two nameservers (e.g.
alice.ns.cloudflare.com&bob.ns.cloudflare.com). - Go to your domain registrar’s control panel and replace your current nameservers with Cloudflare’s.
- Return to the Cloudflare dashboard and click “Check nameservers” to validate.
- DNS propagation can take from a few minutes up to 24 hours (though often it’s faster).
Step 3: Install & Configure the Cloudflare WordPress Plugin
The plugin helps connect your WordPress site with Cloudflare, manage cache purges, and more.
- In your WordPress admin dashboard → Plugins → Add New → search for “Cloudflare” by Cloudflare, Inc.
- Install and activate the plugin.
- In plugin settings, you’ll be asked to connect using your Cloudflare email + API key (or API token).
- You can get your API key from your Cloudflare account (in your profile settings).
- Once connected, adjust settings (many are sensible defaults). Some recommended settings:
- Set Security Level to “Medium” (or as needed)
- Enable Auto Minify (CSS, JS, HTML)
- Turn on Always Use HTTPS
- Enable Browser Cache TTL
- Enable Rocket Loader (optional)
- Activate IP Geolocation
- Enable Automatic Cache Management (the plugin and Cloudflare coordinate cache purges when content or theme changes)
SpinupWP’s guide covers the plugin setup in detail. SpinupWP
Step 4: Configure Page Rules & Caching Behavior
To get the most out of Cloudflare, you’ll want to tune caching and page rules.
- Page Rules: For example, you might create a rule like
example.com/wp-admin*with settings to bypass cache or disable security. - Use “Cache Everything” + “Edge Cache TTL” (with care) if your site is mostly static (blogs, marketing sites).
- Use “Purge Cache” when you update CSS, JS, or theme files to make sure changes propagate.
- For dynamic content (like WooCommerce / logged in users), ensure those pages are not overly cached or are excluded.
Step 5: (Optional) Use Cloudflare APO (Automatic Platform Optimization)
Cloudflare offers an add-on (paid or sometimes bundled) called APO which is optimized for WordPress. It helps deliver full pages from edge, improving Time to First Byte (TTFB) and reducing origin hits. SpinupWP
If you opt for APO:
- Enable it in your Cloudflare dashboard.
- The WordPress plugin will detect and configure relevant settings automatically.
- APO works well especially for mostly static WordPress sites or blogs.
Step 6: Test & Monitor
After setup, you should verify everything is working properly.
- Use tools like GTmetrix, Pingdom, or Google PageSpeed Insights to measure improvements
- Check that static assets (CSS, images, JS) are being served by Cloudflare (you can view headers — e.g.
cf-cache-status: HIT) - Test site changes to confirm cache purges work
- Monitor your Cloudflare dashboard for analytics, threat activity, and performance
Common Pitfalls & Troubleshooting
| Issue | Possible Cause / Fix |
|---|---|
| “Too many redirects” or SSL errors | Ensure that Cloudflare SSL mode is set correctly (e.g. “Full (strict)”), and that your origin also supports HTTPS |
| Stale content not updating | Purge the Cloudflare cache or enable “Always Online” fallback with care |
| Dynamic pages (cart, login) showing weird behavior | Exclude those pages via Page Rules from caching |
| DNS records missing | Double-check your DNS settings in Cloudflare vs original host |
| Plugin conflicts | Some caching or optimization plugins may overlap — test carefully |
Final Thoughts
Integrating Cloudflare CDN into WordPress can bring you substantial performance and security gains without huge cost (the free tier is quite capable). The key is to:
- Properly configure DNS and nameservers
- Use the WordPress plugin to manage integration
- Tune caching rules and exclude dynamic content appropriately
- Optionally leverage Cloudflare’s other features (APO, firewall rules, etc.)

Thank you so much for taking the time to read my blog post! Your support and engagement truly mean a lot and inspire me to keep creating and sharing more valuable content. If you enjoyed this post, I’d love to hear your thoughts—feel free to leave a comment in the box below and join the conversation. And if you’d like to stay updated with the latest posts, tips, and insights, don’t forget to subscribe to my newsletter. By joining, you’ll be the first to know when new content is published, so you never miss an update.
Supporters often connect a favourite team with the design worn during a memorable campaign as supporters use shirts to connect club identity with everyday style. National team shirts linked to Brazil often carry memories of summer tournaments and shared celebrations. For supporters comparing different designs, Germany national team shirt is a natural way to describe interest in club apparel without sounding promotional. The design conversation makes room for both modern technology and older football memories.