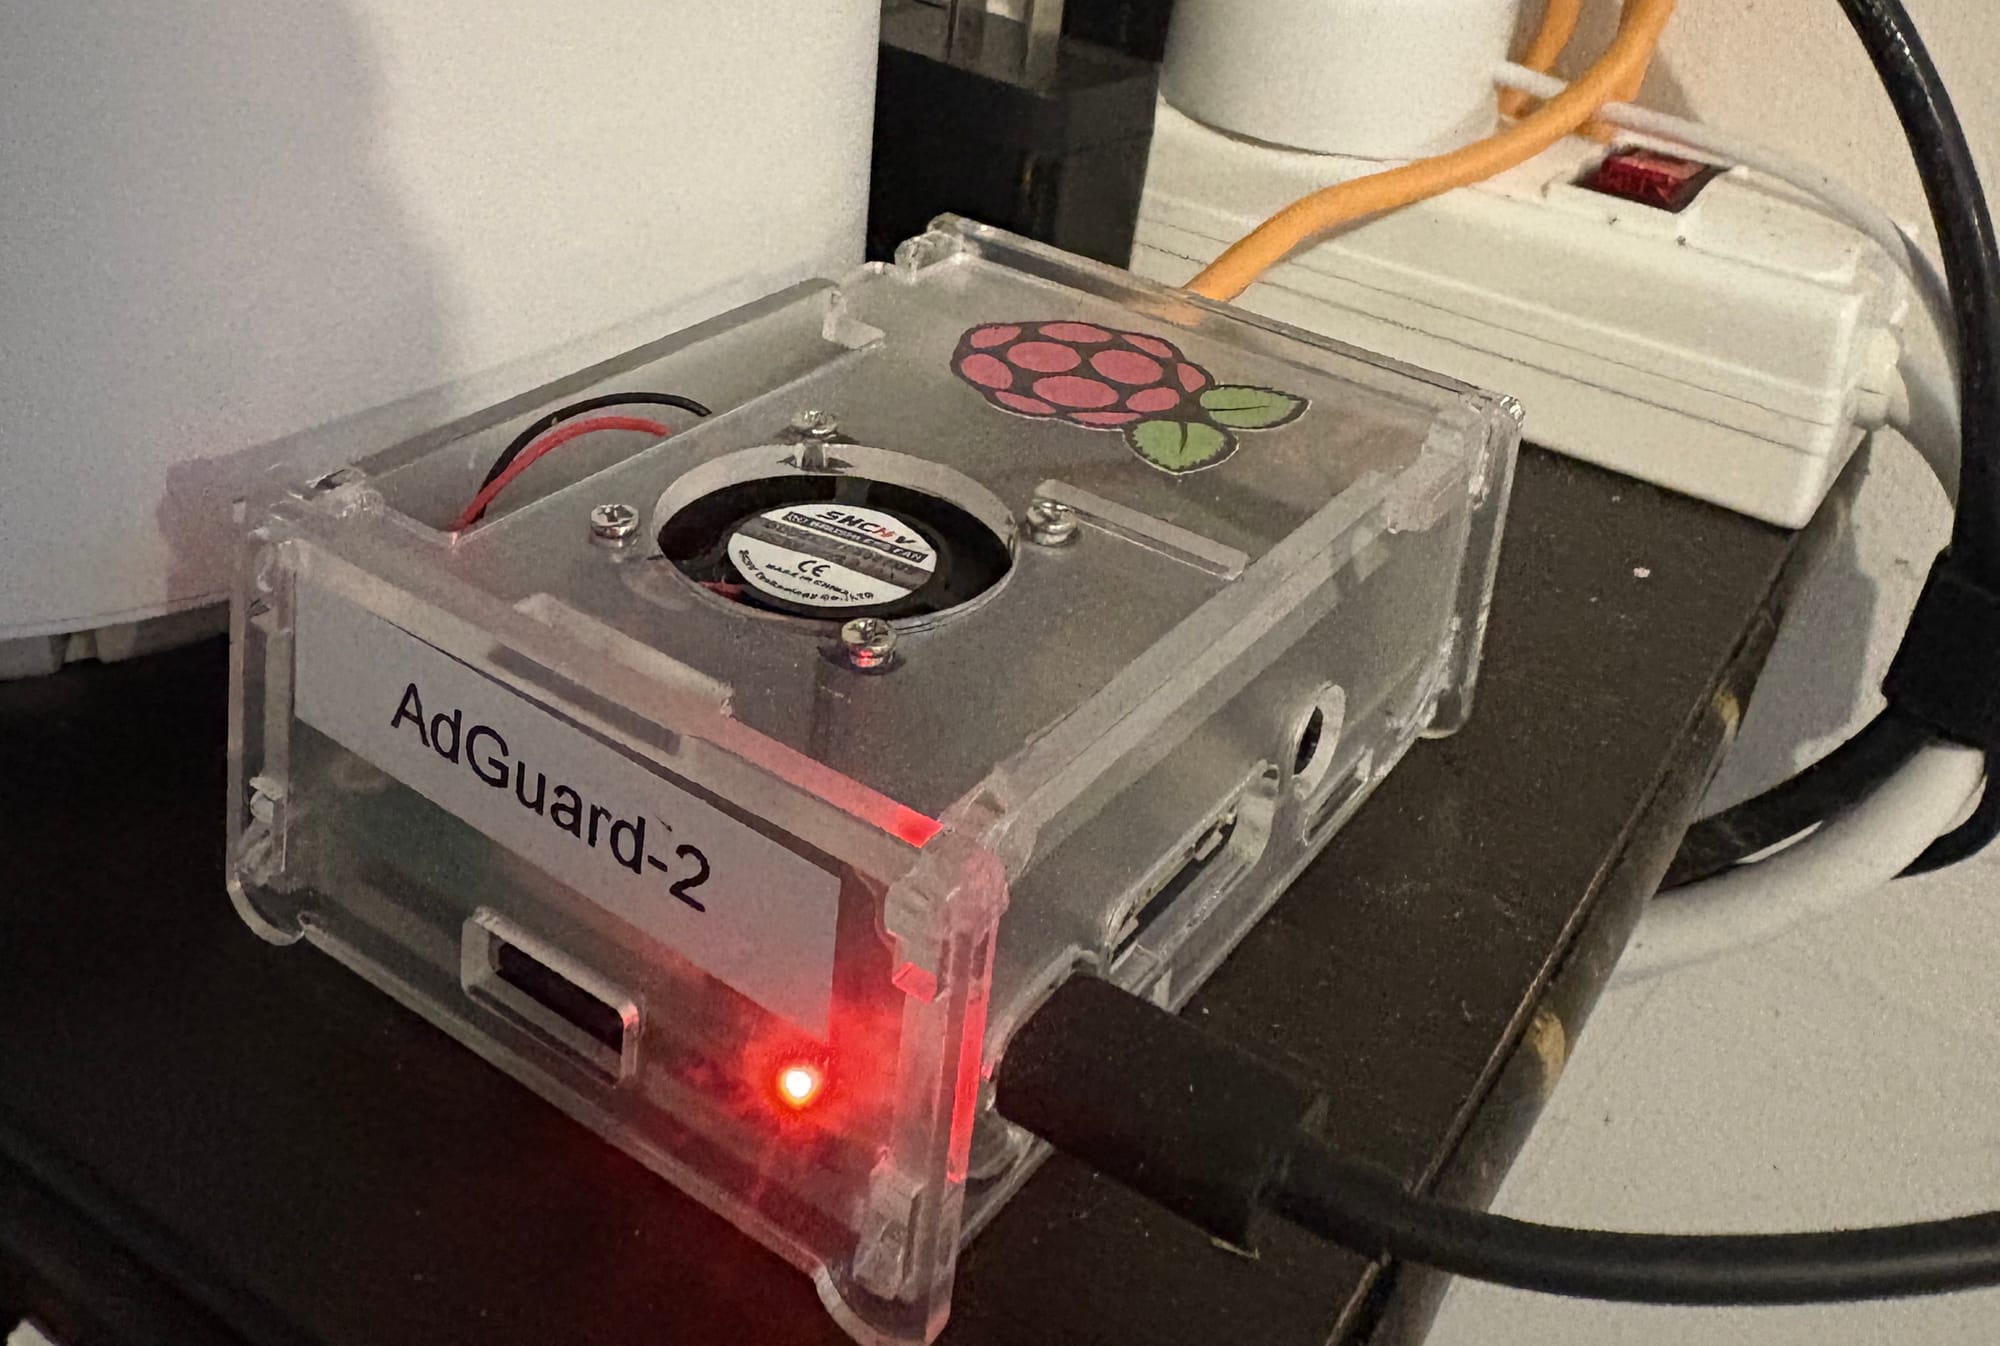
Set Up a DNS Server on Raspberry Pi with Ubuntu 24.04 LTS and AdGuard Home


If you want more privacy, speed, and control over your internet traffic, running your own DNS server with AdGuard Home on a Raspberry Pi is one of the best home lab projects you can try. It blocks ads, trackers, and malicious domains at the DNS level — giving every device on your network a safer and cleaner internet experience.
In this guide, we’ll walk through how to set up a DNS server using a Raspberry Pi, Ubuntu Server 24.04 LTS, and AdGuard Home.
🔹 What You’ll Need
- A Raspberry Pi 4 or Pi 5 (Pi 5 recommended for better performance).
- A microSD card (16GB or larger).
- Ubuntu Server 24.04 LTS (ARM64) image from Ubuntu downloads.
- A stable internet connection.
- Local network access to your router.
1. Install Ubuntu 24.04 LTS on Raspberry Pi
- Download Ubuntu Server (ARM64) from Ubuntu’s official site.
- Choose Ubuntu Server 24.04 LTS for Raspberry Pi.
- Flash the OS to your SD card using Raspberry Pi Imager or Balena Etcher.
- Boot your Pi with the SD card inserted.
- Login with default credentials:Username: ubuntu
Password: ubuntu
(You’ll be asked to change the password on first login.)
2. Update and Configure Raspberry Pi
Run the following commands to make sure your system is up to date:
sudo apt update && sudo apt upgrade -y
sudo reboot
Assign a static IP address so your Pi always has the same address on your network.
Edit Netplan configuration:
sudo nano /etc/netplan/50-cloud-init.yaml
Example configuration:
network:]
ethernets:
eth0:
dhcp4: no
addresses:
- 192.168.1.50/24
gateway4: 192.168.1.1
nameservers:
addresses: [1.1.1.1, 8.8.8.8 version: 2
Save and apply:
sudo netplan apply
3. Install AdGuard Home
We’ll install AdGuard Home directly from their official script.
cd /opt
sudo wget https://static.adguard.com/adguardhome/release/AdGuardHome_linux_arm64.tar.gz
sudo tar -xvf AdGuardHome_linux_arm64.tar.gzcd AdGuardHome
sudo ./AdGuardHome -s install
This installs AdGuard Home as a service that runs automatically on boot.
4. Access AdGuard Home Web Interface

Once installed, open your browser and go to:
http://<raspberrypi-ip>:3000
Example: http://192.168.1.50:3000
Follow the setup wizard:
- Choose a username and password.
- Set the listening IP to your Pi’s static IP.
- Configure upstream DNS servers (Cloudflare, Quad9, or Google).
- Save settings.
AdGuard Home will now run on:
http://<raspberrypi-ip>:80
5. Configure Your Router or Devices
To use AdGuard Home as your DNS:
- Option 1: Router-wide setup
Log in to your router’s admin page and set the DNS server to your Pi’s static IP (e.g.,192.168.1.50). - Option 2: Device-specific setup
Change DNS settings on individual devices to use your Pi’s IP.
6. Verify Blocking
- Visit dnsleaktest.com to check if queries are going through your Pi.
- Open AdGuard Home dashboard → Query Log → you should see live DNS requests.
- Try browsing a site with ads — most banners should disappear.
7. Bonus: Keep AdGuard Home Updated
To update:
you can simply log into dashboard and click update if available .
OR
cd /opt/AdGuardHome
sudo ./AdGuardHome -s stop
sudo wget https://static.adguard.com/adguardhome/release/AdGuardHome_linux_arm64.tar.gz
sudo tar -xvf AdGuardHome_linux_arm64.tar.gz --overwrite
sudo ./AdGuardHome -s install
sudo ./AdGuardHome -s start
✅ Conclusion
With Ubuntu 24.04 LTS Server and AdGuard Home on a Raspberry Pi, you now have your own DNS server + ad blocker running locally. This not only improves browsing speed but also gives your whole household better privacy and protection.
If you found this guide helpful, check out my other home lab projects and don’t forget to subscribe to my newsletter for future tutorials!
Thank you so much for taking the time to read my post! Your support and engagement truly mean a lot and inspire me to keep creating and sharing more valuable content. If you enjoyed this post, I’d love to hear your thoughts—feel free to leave a comment in the box below and join the conversation. And if you’d like to stay updated with the latest posts, tips, and insights, don’t forget to subscribe to my newsletter. By joining, you’ll be the first to know when new content is published, so you never miss an update.