How to Install Plex Media Server on an Old Windows Desktop or Laptop and Share Movies with Friends & Family


Do you have an old Windows desktop or laptop lying around at home collecting dust? Instead of throwing it away, you can turn it into a powerful media server using Plex. With Plex, you can organize your movies, TV shows, music, and even photos into a beautiful streaming library that’s accessible from anywhere. Best of all, you can share it with your family and friends—just like having your own personal Netflix at home!
In this guide, I’ll walk you through setting up Plex Media Server on a Windows computer step by step.
What is Plex?
Plex is a free media server software that lets you stream your digital content to almost any device—smart TVs, phones, tablets, Roku, Fire Stick, and even web browsers. You can create user profiles, share your library with friends, and even stream remotely outside your home.
It turns your old computer into a streaming hub, saving you from buying expensive NAS devices.
What You’ll Need
Before you begin, make sure you have:
- An old Windows desktop or laptop (Windows 10 or 11 recommended, but works on older versions too).
- A decent internet connection (wired Ethernet is best for streaming).
- External or internal storage space for your movies, TV shows, and music.
- A free Plex account (sign up at Plex.tv).
Step 1: Download and Install Plex Media Server
- Visit the official Plex download page.
- Select Windows as your platform and download the installer.
- Run the installer and follow the on-screen steps to complete the installation.
Once installed, Plex will run in the background and you can access it through your web browser.
Step 2: Launch Plex and Sign In
- Open your browser and go to: http://localhost:32400/web.
- Sign in with your Plex account.
- Plex will now walk you through the initial setup wizard.
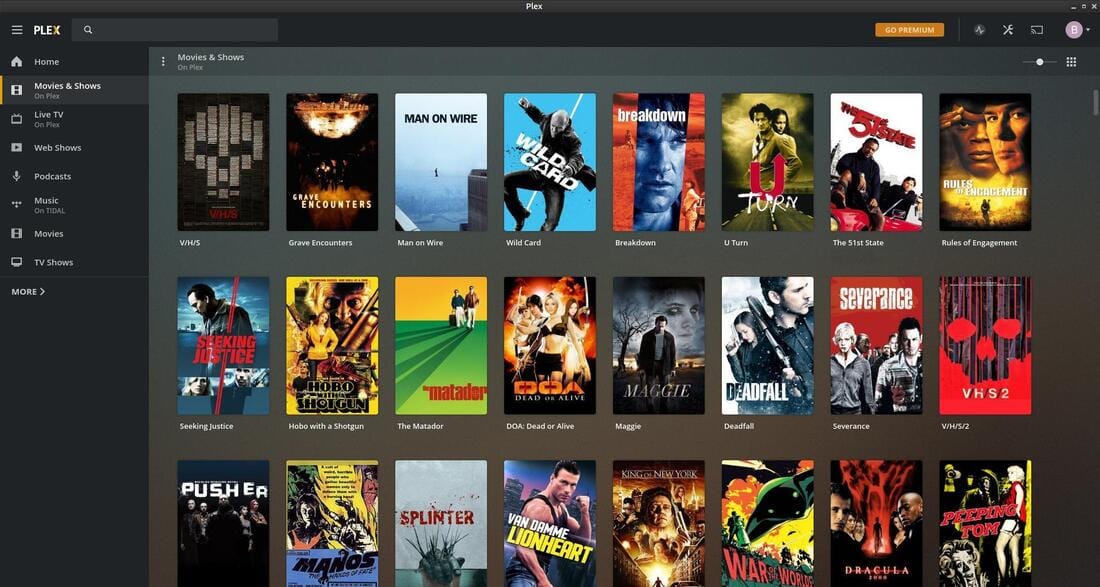
Step 3: Add Your Media Library
This is where the magic happens:
- Click Add Library and choose the type of content (Movies, TV Shows, Music, or Photos).
- Browse to the folder on your computer (or external drive) where your files are stored.
- Plex will scan your media and automatically fetch posters, descriptions, and subtitles.
Tip: Make sure your movies and shows are properly named (e.g., MovieName (Year).mp4) for Plex to recognize them correctly.
Step 4: Optimize Your Plex Settings
- Remote Access: Enable it if you want to stream outside your home. Go to Settings > Remote Access.
- Transcoding: If your old computer is not very powerful, lower the streaming quality under Settings > Transcoder.
- Users & Sharing: Under Settings > Users & Sharing, invite friends and family by their Plex email. They’ll be able to watch your library on their own devices.
Step 5: Access Plex on Any Device
Now that your Plex Media Server is running, you and your family can enjoy it on, simply download the plex app on the device you want to view media and log in with your Plex account. :
- Smart TVs (Samsung, LG, etc.)
- Streaming devices (Roku, Apple TV, Fire Stick, Chromecast)
- Phones & tablets (iOS & Android app)
- Web browsers (plex.tv)
Simply log in with your Plex account and start streaming!
Bonus Tips
- Use an Ethernet cable if possible for smoother playback.
- Set your old computer to auto-start Plex when Windows boots, so your server is always running.
- Back up your media to an external drive in case your old computer fails.
Final Thoughts
Turning an old computer into a Plex Media Server is one of the best ways to recycle your hardware. Instead of sitting in a corner unused, your old desktop or laptop can serve as a central hub for movies, TV shows, music, and photos—shared seamlessly with your friends and family.
It’s like building your very own private streaming service at no extra cost!
Thank you so much for taking the time to read my post! Your support and engagement truly mean a lot and inspire me to keep creating and sharing more valuable content. If you enjoyed this post, I’d love to hear your thoughts—feel free to leave a comment in the box below and join the conversation. And if you’d like to stay updated with the latest posts, tips, and insights, don’t forget to subscribe to my newsletter. By joining, you’ll be the first to know when new content is published, so you never miss an update.
The culture around football apparel reaches from stadium terraces to everyday collections because personalised names and numbers add another layer of memory to a kit. Discussions about breathable shirt fabric give collectors a reason to look beyond the most recent release. For fans choosing a shirt connected to a favourite side, Manchester United football shirt for supporters is relevant to conversations about collecting, matchday wear, and kit design. When fabric details are part of the choice, the design becomes part of how football culture is remembered.