How to Create Windows 11 Installation Media — The Official Microsoft Way

If you're looking to install or reinstall Windows 11 (for example on a new PC or to start fresh), the most reliable method is to use the official tools and instructions from Microsoft. Below is a step-by-step blog-style guide to walk you through the process — from preparation to booting the media and installing Windows 11.
Why create installation media?
Creating installation media gives you a bootable USB drive (or DVD) that you can use to:
- Install Windows 11 on a PC (clean install)
- Upgrade an existing PC (if compatible)
- Recover a PC that won't start properly
- Keep a “ready to go” USB for future installs
Using the official Microsoft method ensures you get a genuine, up-to-date install image and reduces risk of issues from third-party or unofficial sources.
What you'll need
Before you start, gather the following:
- A Windows PC with internet access (you’ll run the tool there).
- A USB flash drive of at least 8 GB (all data on it will be erased).
- Time: the download may take some time depending on your connection.
- A working system to boot from the USB (for the target PC).
- Ensure the target PC meets the system requirements for Windows 11 (TPM 2.0, Secure Boot, 64-bit, etc.).
Step by Step: Create the Installation Media
1. Download the Media Creation Tool
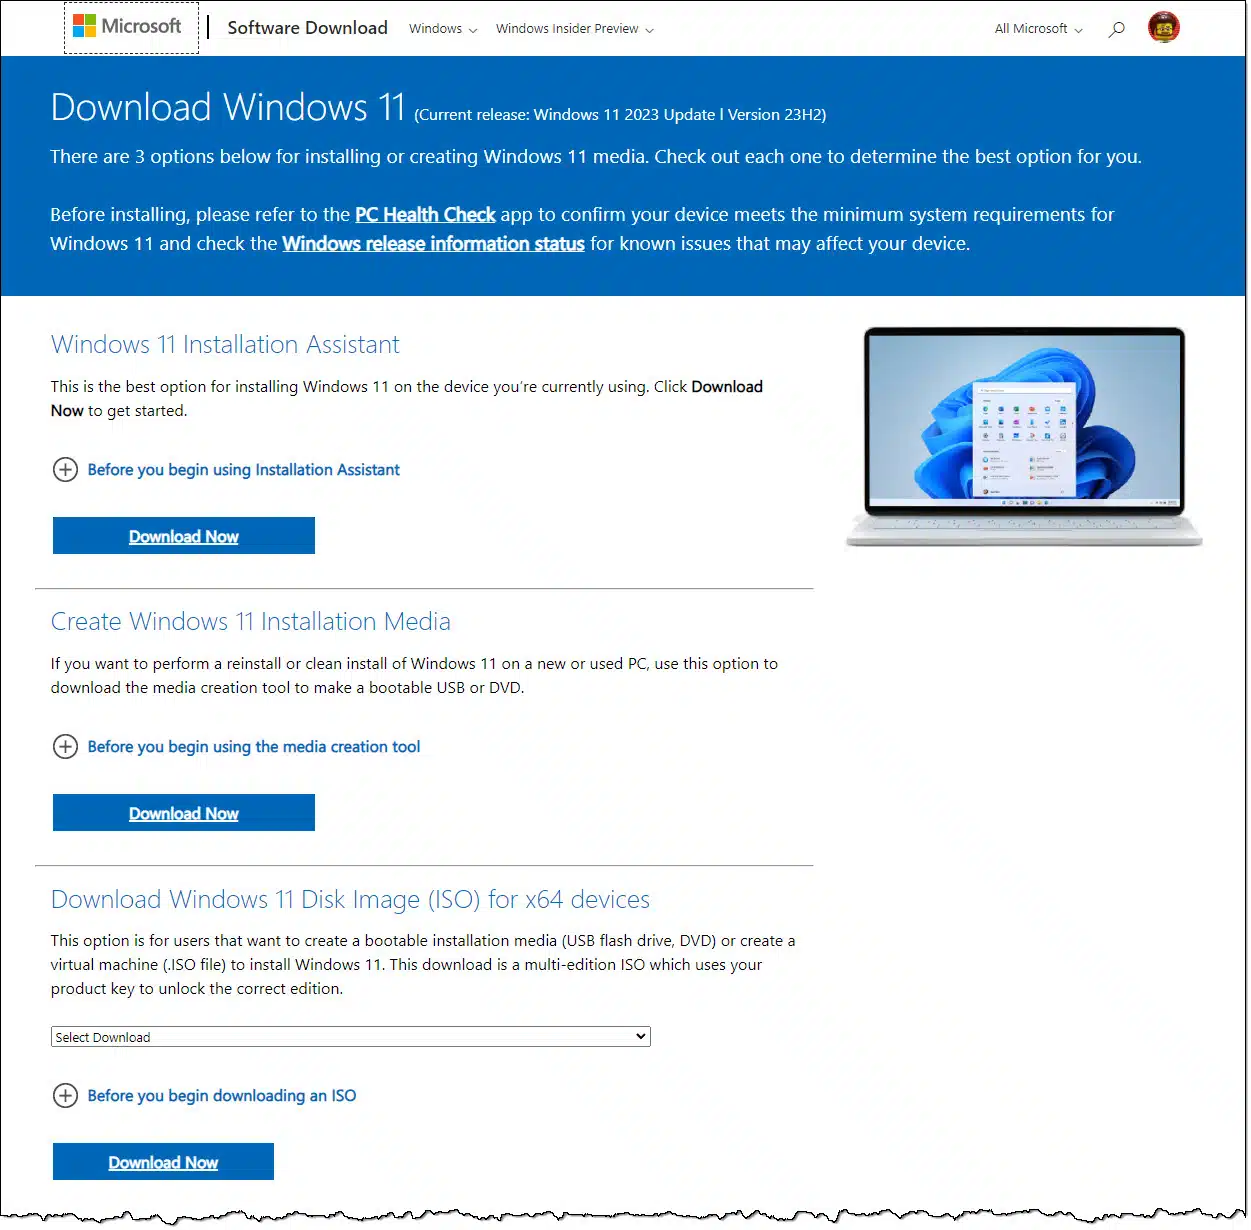
- Go to Microsoft’s Windows 11 download page:
- Under the section “Create Windows 11 Installation Media”, click Download now to get the tool.
2. Run the Tool
- Double-click the downloaded file (usually named
MediaCreationToolW11.exe). - Accept the license terms when prompted.
- You will see options to either upgrade the current PC or create installation media for another PC. Choose the latter.
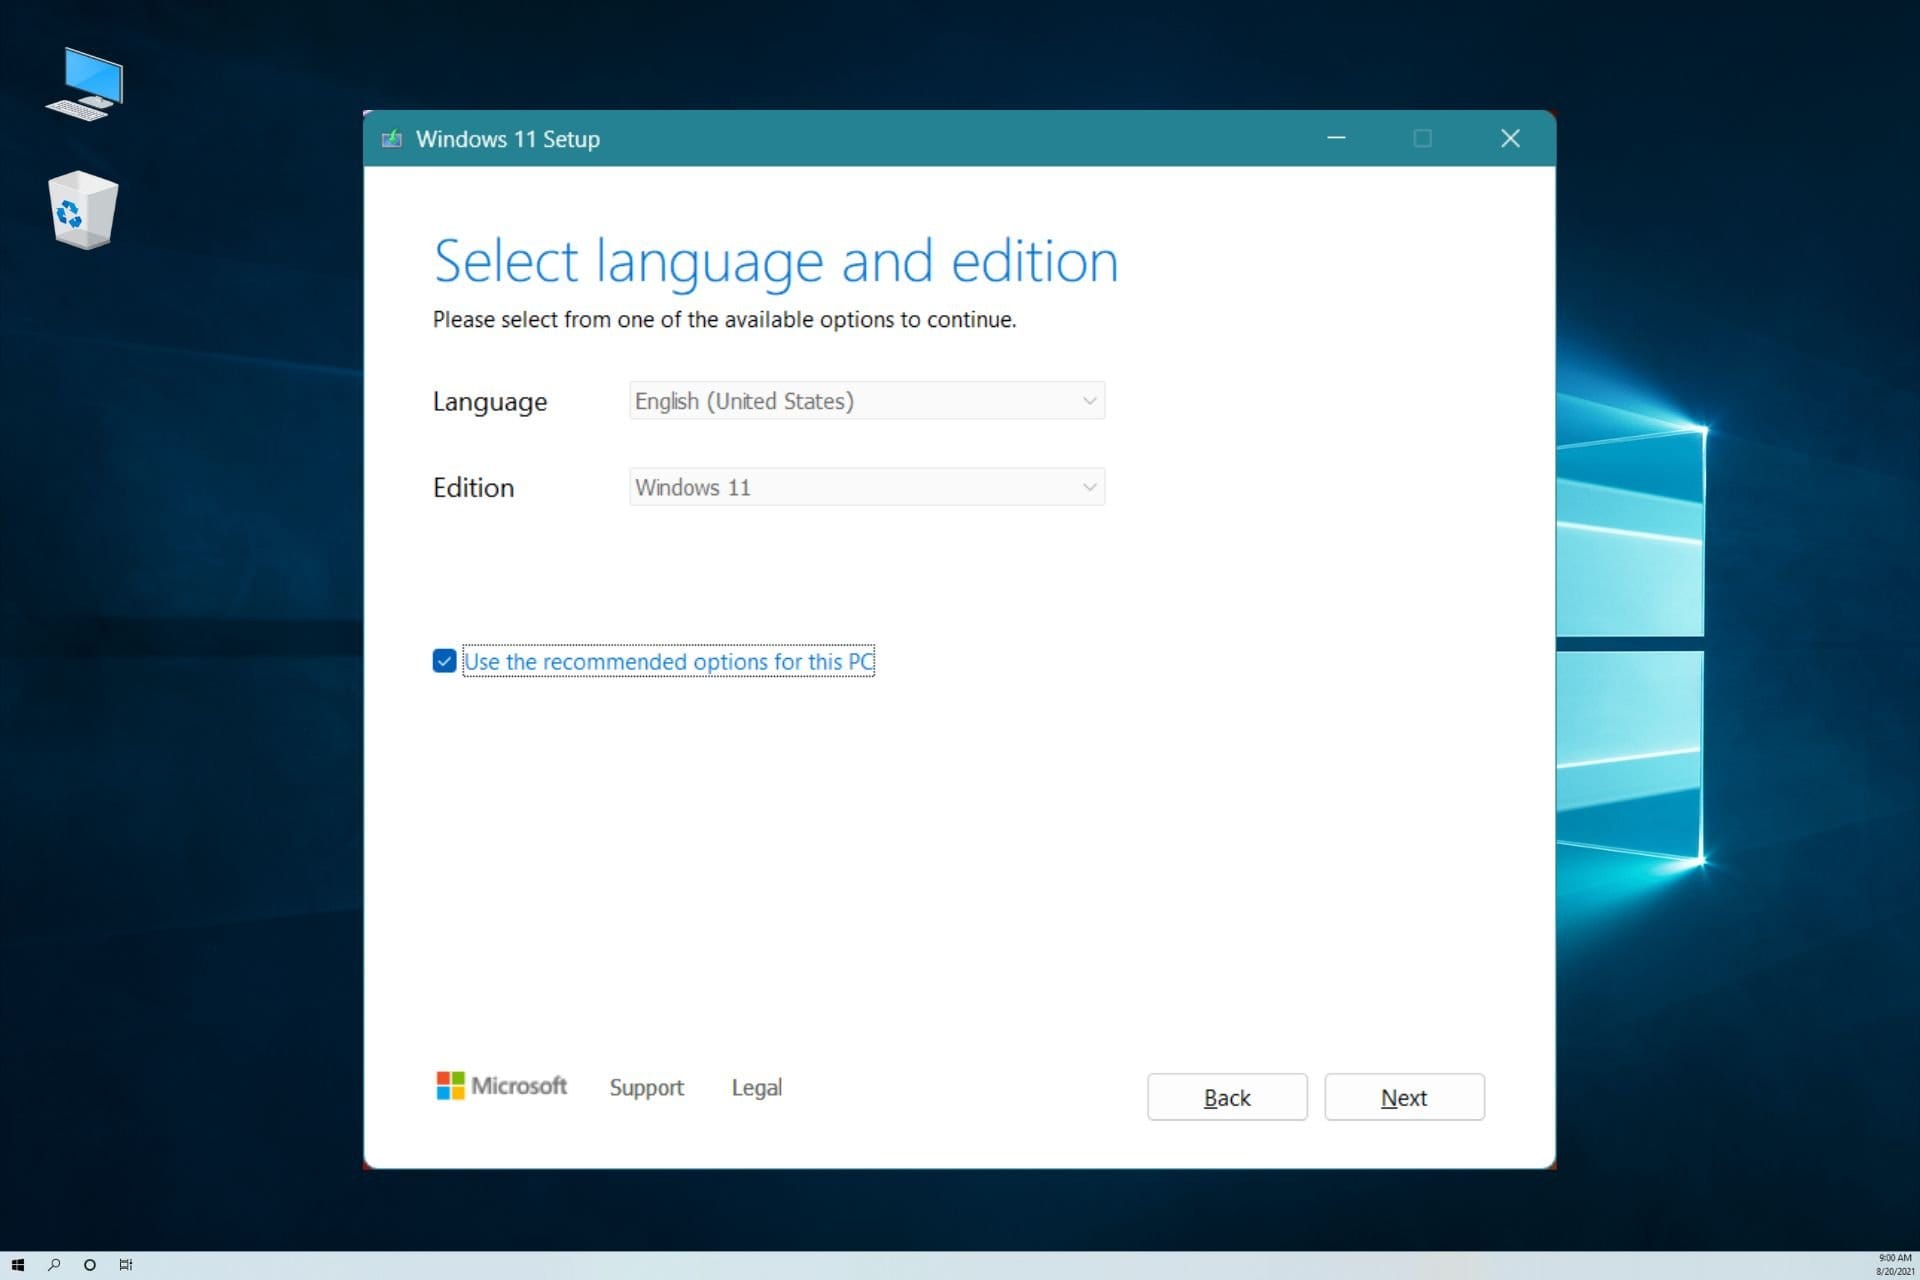
3. Choose Language, Edition & Architecture
- The tool will usually detect your current PC’s configuration and suggest the correct language, edition (Home / Pro), and architecture (64-bit). You can uncheck “Use the recommended options for this PC” if you want to change these.
- Note: Windows 11 only supports 64-bit architecture.
4. Select Media Type
- Choose USB flash drive if you have a USB-stick ready.
- Alternatively, you could choose ISO file if you want to burn a DVD or keep the ISO for later.
- If USB: plug in your USB drive now. Be aware that all existing data on that drive will be erased.
5. Tool Downloads Windows 11 & Writes to USB
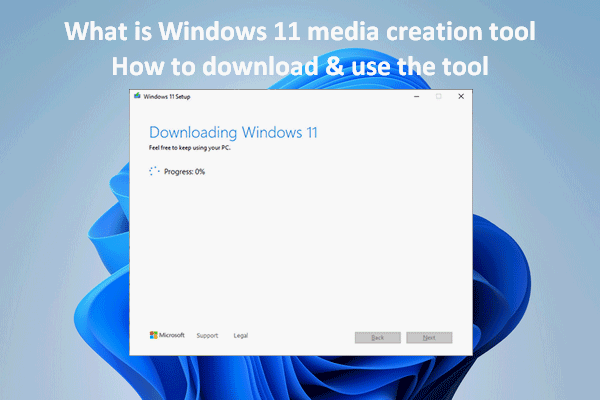
- The tool will download the Windows 11 files from Microsoft servers, then write them to your USB drive and make it bootable.
- Wait until it finishes. When done, you’ll see a message like “Your USB flash drive is ready.”
Using the USB to Install Windows 11
Once your USB installation media is ready, you can install Windows 11 on your target PC:
- Insert the USB drive into the PC you want to install Windows 11 on.
- Restart the PC and enter the BIOS/UEFI or Boot Menu (commonly by pressing F2, F10, DEL, or ESC during startup).
- Set the USB drive as the first boot device (or select “Boot from USB”).
- Save changes and reboot; it should boot into the Windows Setup screen.
- Select your language, time & currency format, keyboard layout → click Next.
- Click Install now.
- If prompted, enter your Windows product key (or click “I don’t have a product key” if your PC has a digital license).
- Choose the edition of Windows 11 (if asked).
- Accept the license terms.
- Choose either:
- Upgrade (keeps your files/apps/settings), or
- Custom (clean install) (erases everything on the drive/partition).
- Follow the on-screen prompts; your PC will restart multiple times.
- After installation completes, you’ll go through the out-of-box experience (OOBE) — set up your user account, privacy settings, connect to network, etc. Corsair+1
Pro Tips & Things to Watch Out For
- Backup: Always backup any important files from the USB drive (and from the PC if you are doing a clean install).
- Drive size: Use a USB stick of at least 8 GB; bigger is fine.
- Don’t interrupt: While the tool is copying files, don’t remove the USB or shut down the PC.
- Check system compatibility: If the PC doesn’t meet Windows 11 requirements (e.g., no TPM 2.0), installation may fail or you may need to do workarounds (unsupported).
- Edition & license: If you have a device with a digital license (Windows 10 → Windows 11 upgrade), make sure you pick the correct edition (e.g., Home vs Pro) so activation works smoothly.
- Keep the USB media: After you’ve created it, keep it safe. You can reuse it later to reinstall, repair, or install on another PC (provided you have licensing).
- Update drivers: After Windows 11 is installed, go to the PC manufacturer’s website to download the latest drivers for your hardware — this ensures best performance and compatibility.
- Clean install vs upgrade: Upgrading keeps your files/apps; a clean install is more “fresh start” but you’ll need to reinstall your apps and restore your data.
Why Use Microsoft’s Official Tool?
- You’re guaranteed to get the latest supported version of Windows 11.
- It reduces the risk of corrupted or tampered install media.
- It’s simple, well-documented, and supported by Microsoft.
- Using third-party methods may introduce compatibility or activation issues.
Recap & Final Thoughts
Using Microsoft’s official method to create Windows 11 installation media is straightforward, safe, and reliable. Here’s a quick recap of the key steps:
- Download the Media Creation Tool from Microsoft’s website.
- Run the tool, accept terms, select “Create installation media”.
- Choose language/edition/architecture.
- Select USB flash drive, plug in the one you’ll use.
- Let the tool download Windows 11 and create the bootable media.
- Boot the target PC from the USB, and follow the installation steps.
As an IT professional (like yourself, Sudeep), having a ready-made Windows 11 USB install drive is a great asset — whether you're installing on a new workstation, repairing a system, or preparing for future builds. Keep the USB updated and test that it boots properly occasionally.
Thank you so much for taking the time to read my blog post! Your support and engagement truly mean a lot and inspire me to keep creating and sharing more valuable content. If you enjoyed this post, I’d love to hear your thoughts—feel free to leave a comment in the box below and join the conversation. And if you’d like to stay updated with the latest posts, tips, and insights, don’t forget to subscribe to my newsletter. By joining, you’ll be the first to know when new content is published, so you never miss an update.
Supporter culture is shaped by chants, colours, badges, and the shirts worn on matchday as fans compare old designs with the look of newer campaigns. Fit and sizing choices make the shirt part of a broader discussion about football culture. For supporters studying famous shirt designs, Japan football shirt is a useful phrase within the wider story of football shirts. For that reason, the discussion stays close to teams, supporters, and shared history.