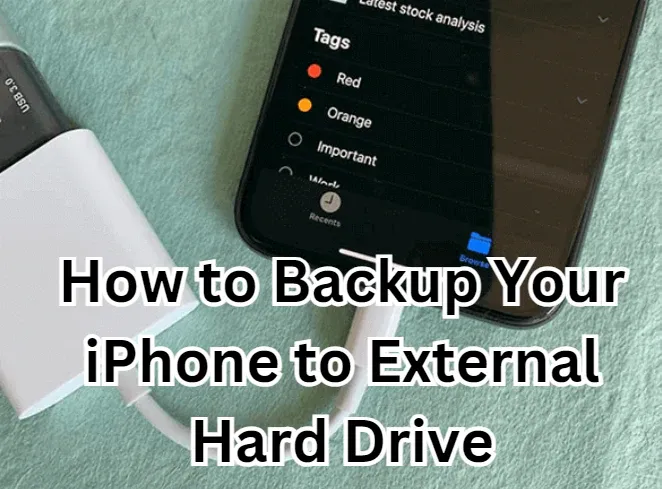
How to Backup Your iPhone Photos on a Hard Disk – A Private and Cost-Effective Alternative to Cloud Subscriptions

In today’s digital age, our iPhones act as the primary camera for most of us. We capture precious family moments, trips, and everyday memories—all of which pile up quickly and eat away at storage. Apple and Google conveniently offer cloud storage options, but that convenience comes at a recurring cost and sometimes even at the expense of your data privacy.
If you’re tired of paying monthly for iCloud or Google Photos, or if you’d prefer more control over your files, backing up your iPhone photos to a hard disk or setting up a NAS (Network Attached Storage) can be a much smarter alternative. Let’s dive into how you can do this step by step.
Why Not iCloud or Google Photos?
- Recurring Costs: Cloud storage subscriptions may seem cheap at first, but over the years they add up.
- Privacy Concerns: Your photos are stored on third-party servers, which could be vulnerable to breaches or data mining.
- Limited Control: If you ever stop paying, you may lose access to your data.
With a hard disk or NAS, you own your storage, you control your data, and it’s often a one-time investment.
Option 1: Directly Connect an External Hard Drive to Your iPhone (USB-C)
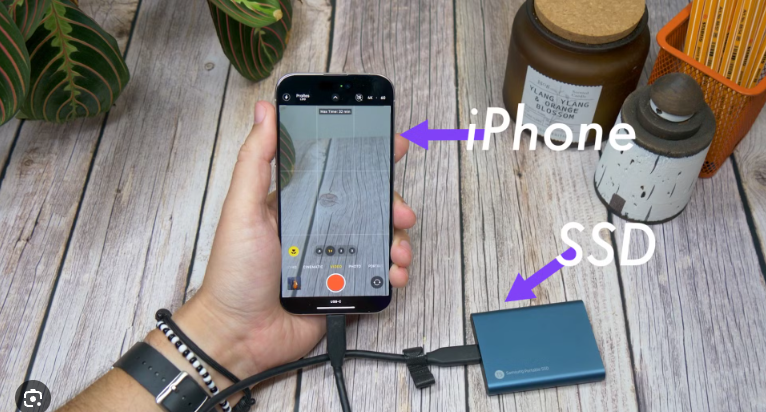
If you own an iPhone with a USB-C port (like iPhone 15 series or later), you can plug in an external hard drive or SSD directly to your phone and transfer photos. This method completely skips the computer.
What You’ll Need:
- An iPhone with USB-C
- A USB-C external hard drive/SSD (formatted as exFAT or APFS)
- A USB-C to USB-C cable (most external drives include one)
Steps:
- Connect the hard drive directly to your iPhone using the cable.
- Open the Files app on your iPhone.
- Your hard disk will appear under Locations. Tap it to access.
- Open the Photos app → Select the photos/videos you want to back up → Tap Share → Choose Save to Files → Pick your external hard drive as the destination.
- You can create folders on the hard drive to stay organized (e.g., “iPhone Backup 2025”).
💡 Tip: If you take lots of high-resolution photos and videos, consider using a portable SSD (like Samsung T7 or SanDisk Extreme). They’re faster and more reliable than spinning HDDs.
Amazon Links: https://sudeeps.com/s3ga
Best Buy Links: https://sudeeps.com/p3kt
Option 2: Backup iPhone Photos to an External Hard Disk via Computer.
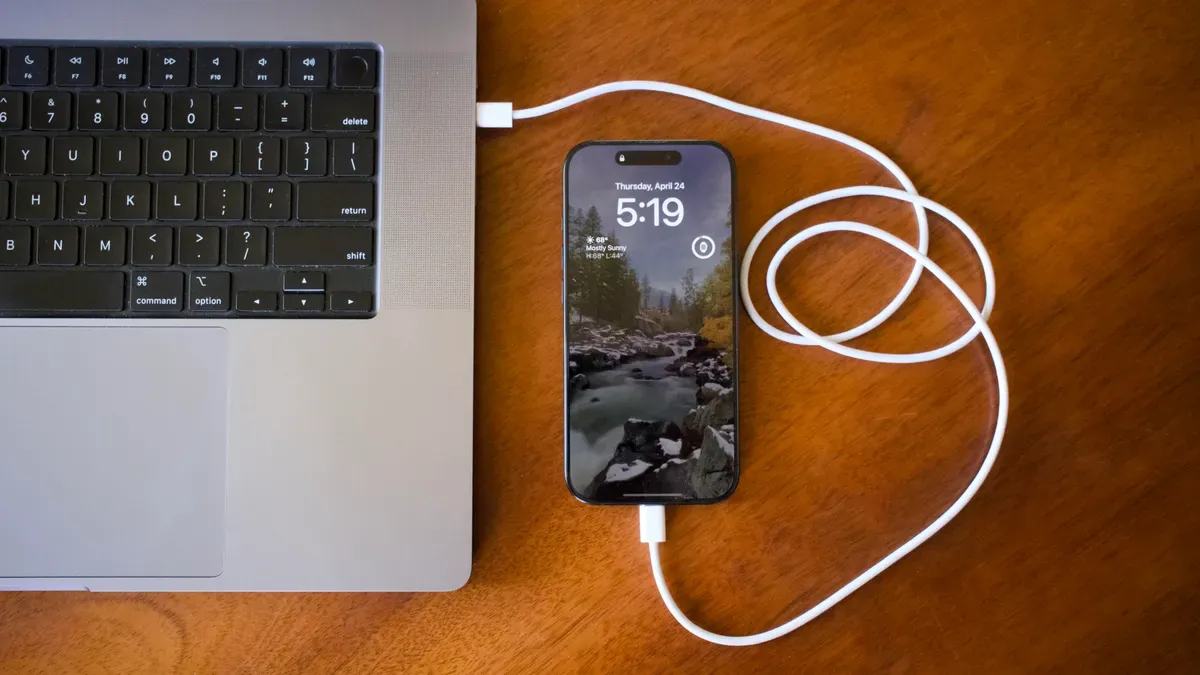
What You’ll Need:
- A computer (Mac or Windows)
- A USB external hard drive
Steps:
- Connect your iPhone to your computer via USB cable.
- On Windows:
- Open Photos app or File Explorer.
- Import photos from your iPhone.
- Save them directly to your external hard disk.
- On Mac:
- Open the Photos app or Image Capture.
- Select the photos/videos you want to import.
- Choose your external hard disk as the destination.
💡 Tip: Create a simple folder structure (e.g., 2025 > January > Family Trip) so your memories stay organized.
Direct Backup vs NAS vs Computer
- Direct HDD Backup (USB-C) → Best for quick transfers on the go, no computer needed.
- Computer + External HDD → Great if you want to manage/organize photos before storing.
- NAS → Best for long-term, automated, and privacy-focused backups.
Option 3: Use a NAS for Your Personal Cloud

A NAS (Network Attached Storage) is like your own private cloud at home. Instead of storing files on Apple or Google servers, your data lives on a hard drive connected to your home network.
Benefits of NAS:
- Access Anywhere: Just like iCloud, but fully under your control.
- Privacy First: Your photos never leave your network unless you want them to.
- Expandable: Add more drives when you need more space.
- Multi-Device Backup: Not just your iPhone—your entire family’s phones and computers can back up to it.
How to Set It Up:
- Buy a NAS device (e.g., Synology, QNAP, or even repurpose a Raspberry Pi with OpenMediaVault).
- Install hard drives inside it.
- Connect the NAS to your home network (via Ethernet to your router).
- Install the NAS mobile app (like Synology Photos or QNAP Qfile) on your iPhone.
- Enable automatic photo backup—every time you’re on Wi-Fi, your photos sync to your NAS.

Which Option Should You Choose?
- If you just need occasional backups: A simple external hard disk is more than enough.
- If you want long-term storage, easy access, and full privacy: A NAS is the way to go.
Final Thoughts
Backing up your iPhone photos to a hard disk or NAS gives you peace of mind, saves you money on subscriptions, and keeps your memories safe under your control. With NAS, you’re essentially building your own private iCloud, but without the monthly bill and data privacy worries.
So, before you buy another iCloud upgrade, consider investing in your own storage solution—you’ll thank yourself years down the road.
Thank you so much for taking the time to read my post! Your support and engagement truly mean a lot and inspire me to keep creating and sharing more valuable content. If you enjoyed this post, I’d love to hear your thoughts—feel free to leave a comment in the box below and join the conversation. And if you’d like to stay updated with the latest posts, tips, and insights, don’t forget to subscribe to my newsletter. By joining, you’ll be the first to know when new content is published, so you never miss an update.
The culture around football apparel reaches from stadium terraces to everyday collections as the design can recall players, cities, and moments that shaped a generation. Fit and sizing choices can be just as important as the badge when fans compare different kits. Those exploring club collections may also consider, how to choose a Bayern Munich football shirt is connected to the way fans compare eras, colours, and shirt details. A thoughtful shirt choice keeps the paragraph grounded in football culture rather than simple promotion.