Building a Smart Home Network with TP-Link Omada SDN in My Home Lab

As someone who enjoys tinkering with servers, networks, and automation, I’ve always believed a solid network is the backbone of any efficient home lab. Over the years, I’ve experimented with different brands and setups — but my recent dive into TP-Link Omada SDN has been one of the most rewarding networking projects I’ve done at home.
What Is TP-Link Omada SDN?
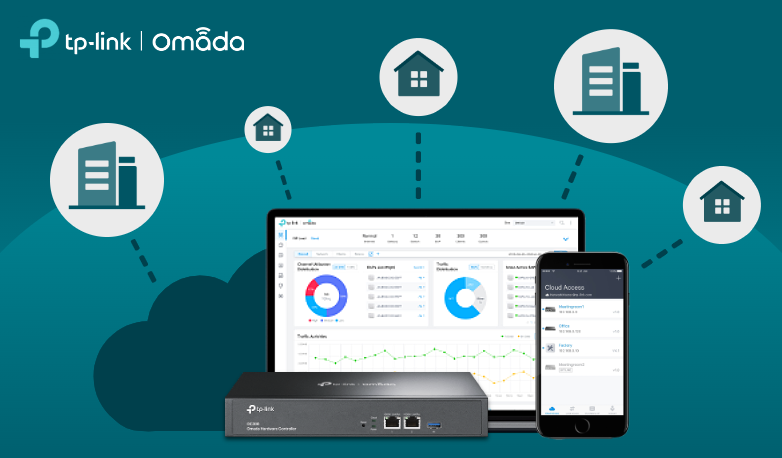
Omada SDN (Software Defined Networking) by TP-Link is an integrated networking solution that brings enterprise-level control and automation to home and small business networks. It allows you to manage routers, switches, and access points (APs) centrally from a single dashboard — whether hosted locally or in the cloud.
You can think of Omada SDN as TP-Link’s version of Ubiquiti UniFi — but more affordable and surprisingly powerful for a home lab setup.
My Home Lab Setup
Here’s what my Omada network stack looks like in my home lab:
- Router: TP-Link ER605 (Gigabit VPN Router)
- Switch: TP-Link TL-SG2210MP (Managed PoE Switch)
- Access Points: A mix of EAP610 and EAP245 Wi-Fi 6 APs
- Controller: Omada Software Controller running on my Proxmox VM
I connected all my lab devices — servers, NAS, IoT devices, cameras, and test VMs — under this setup. The beauty of Omada is that all devices automatically “adopt” into the SDN controller and can be managed from a unified dashboard.
Centralized Management via Omada Controller
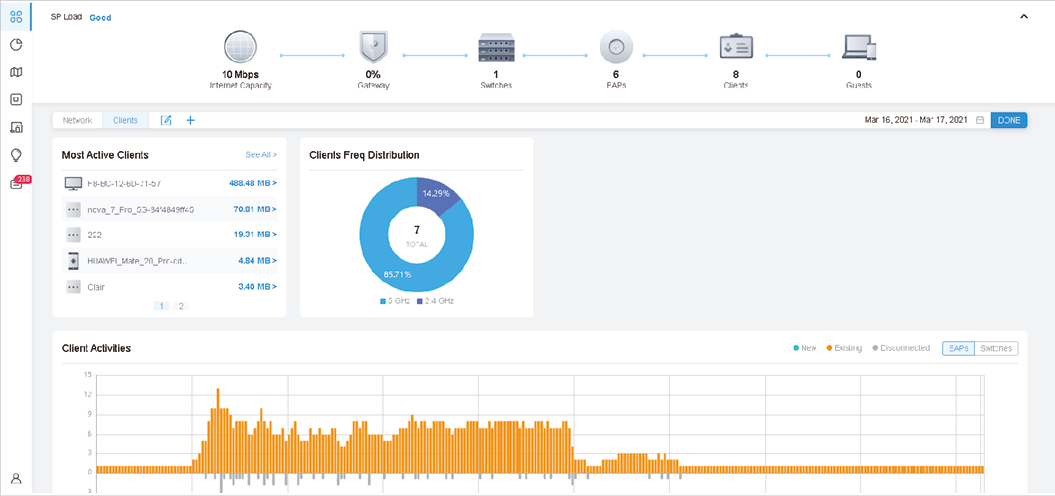
Once I installed the Omada Controller on my Proxmox virtual machine, the first thing I loved was the single-pane-of-glass view of the entire network.
From the controller, I can:
- See all devices (router, switches, APs) and their status
- Manage connected clients
- Monitor real-time traffic and usage
- Push firmware updates or configurations across all devices
- Set up guest networks and portal authentication
I even connected the controller to the Omada Cloud — which allows me to manage my home network remotely from anywhere.
Creating VLANs for Segmented Networking
One of the best parts of Omada is how easy it makes VLAN configuration — something every home lab enthusiast should leverage.
In my setup, I’ve created several VLANs to separate network traffic logically:
| VLAN | Purpose | Subnet | Notes |
|---|---|---|---|
| VLAN 10 | Main Network | 192.168.10.0/24 | Family devices, phones, PCs |
| VLAN 20 | IoT Devices | 192.168.20.0/24 | Smart plugs, cameras, thermostats |
| VLAN 30 | Lab Servers | 192.168.30.0/24 | Proxmox, Docker hosts, NAS |
| VLAN 40 | Guest Wi-Fi | 192.168.40.0/24 | Internet-only access |
| VLAN 50 | Management | 192.168.50.0/24 | Switch/AP management interface |
All VLANs are tagged on the managed switch, and the Omada router handles inter-VLAN routing and firewall rules. For example, my IoT VLAN is restricted from accessing lab resources, while my lab VLAN can reach everything.
This kind of segmentation not only improves network security but also keeps traffic organized and optimized.
Wi-Fi Networks and SSIDs
Through the Omada Controller, I created multiple SSIDs mapped to the VLANs above:
- HomeNet (VLAN 10) – Secure main Wi-Fi for family
- IoTNet (VLAN 20) – For all smart home devices
- GuestNet (VLAN 40) – Isolated guest Wi-Fi with bandwidth limit
What’s great is the Omada APs automatically broadcast these SSIDs, and VLAN tagging happens seamlessly in the background.
The Wi-Fi 6 performance of my EAP610 is impressive — stable connections and strong coverage throughout the house.
Network Policies, Firewall Rules, and QoS
Using the Omada SDN interface, I configured:
- Firewall rules between VLANs (e.g., block IoT → Main)
- Bandwidth control and QoS for streaming devices
- Scheduled Wi-Fi availability for guest access
- Port isolation for testing untrusted devices
These enterprise-like controls are incredibly handy when experimenting with servers or testing new devices in a home lab.
Cloud Access and Monitoring
TP-Link’s Omada Cloud portal gives me remote visibility into my home network — right from my phone or laptop.
If I’m away from home, I can:
- Check network uptime
- See which clients are connected
- Reboot APs or router remotely
- Get alerts for offline devices
It’s like having a personal network operations center (NOC) right in my pocket.
My Personal Thoughts
Setting up TP-Link Omada SDN in my home lab has completely changed how I manage and visualize my network. It brings enterprise-level performance, flexibility, and control — all while remaining budget-friendly and user-friendly.
If you’re into homelabbing, tinkering with servers, or just want a smarter and more reliable home network, I highly recommend exploring the Omada ecosystem. Once you experience the power of centralized management, VLAN segmentation, and seamless Wi-Fi control — you’ll never want to go back to basic routers again.
Final Takeaway
Whether you’re just starting your homelab journey or already running multiple services like Proxmox, NAS, and Docker stacks, the TP-Link Omada SDN platform is an excellent choice for creating a stable, scalable, and secure network backbone.
Omada has become the heart of my home network, connecting everything from smart home gadgets to high-performance servers — and it’s been running flawlessly ever since.
Thank you so much for taking the time to read my blog post! Your support and engagement truly mean a lot and inspire me to keep creating and sharing more valuable content. If you enjoyed this post, I’d love to hear your thoughts—feel free to leave a comment in the box below and join the conversation. And if you’d like to stay updated with the latest posts, tips, and insights, don’t forget to subscribe to my newsletter. By joining, you’ll be the first to know when new content is published, so you never miss an update.
Club history is often remembered through the shirts worn in decisive matches when the colours and details become familiar symbols of belonging. A classic Tottenham Hotspur design can remind supporters of league campaigns, European nights, and local rivalries. Anyone comparing player and fan versions may find, Arsenal retro shirt remains relevant to conversations about collecting, matchday wear, and kit design. The matchday connection helps explain why different versions can matter to different fans.