Build Your Own Router Using pfSense and a Mini PC.

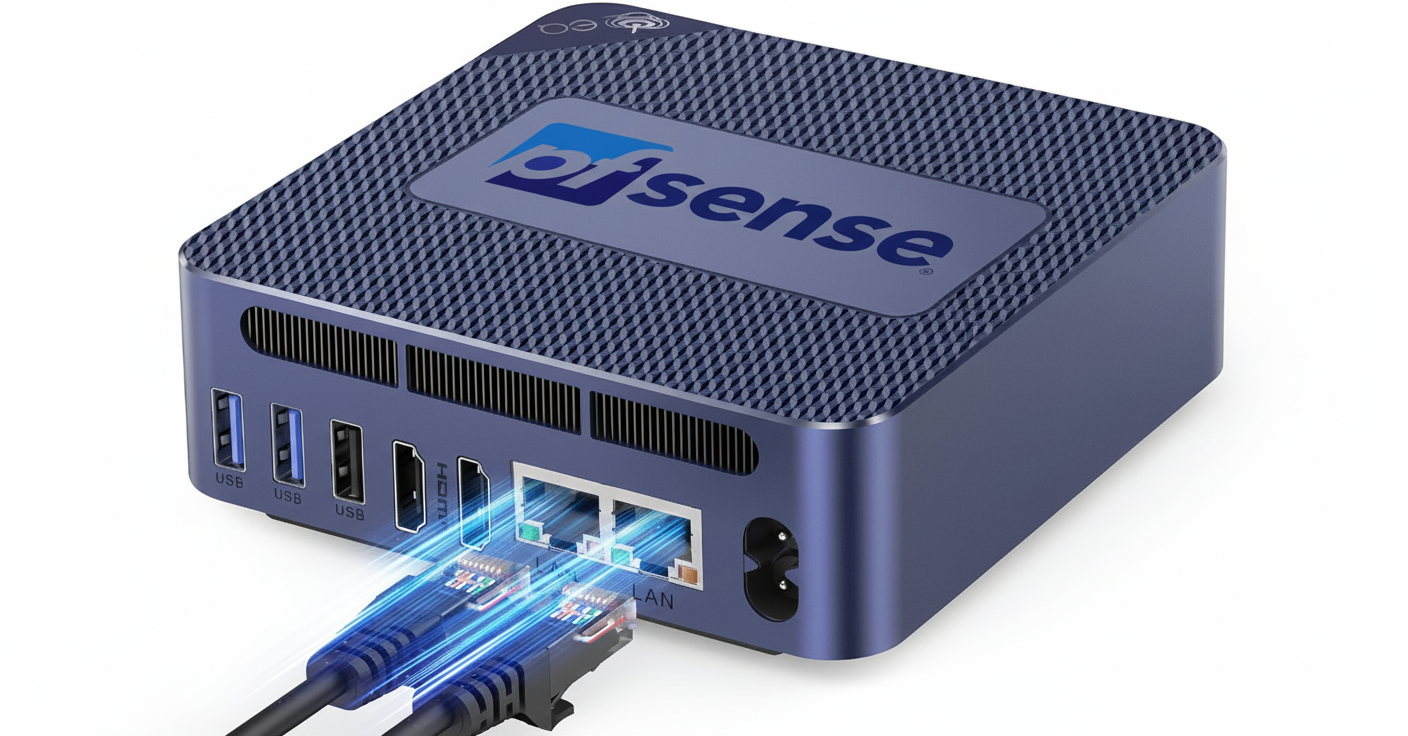
If you love home networking, privacy, or simply want full control over your internet, building your own router using pfSense and a Mini PC with dual NIC (LAN/WAN) is one of the best DIY tech projects you can do. Unlike regular consumer routers, pfSense gives you enterprise-level firewall features, VPN support, VLANs, traffic shaping, DNS filtering, and rock-solid security — all without expensive hardware.
In this guide, we’ll walk through why and how to build your own pfSense router using an affordable Mini PC.
Why Choose pfSense Over a Regular Router?
Most ISP-provided routers are weak in security and performance. pfSense, on the other hand, gives you:
✔️ Advanced Firewall Rules
✔️ VLAN Support (for smart home and IoT segmentation)
✔️ Built-in VPN (WireGuard, OpenVPN, IPsec)
✔️ Ad-Blocking & DNS Filtering with pfBlockerNG
✔️ Failover, Load Balancing & Traffic Shaping
✔️ Detailed Network Monitoring (ntopng, bandwidth graphs)
You get enterprise-grade networking at a fraction of the cost.
What You Need (Hardware & Software)
| Item | Minimum Recommendation | Notes |
|---|---|---|
| Mini PC with Dual NIC | Intel N5105/N5100/i5 & 4–8GB RAM, 64GB SSD | One NIC = WAN, one NIC = LAN |
| pfSense ISO | Download from pfSense.org | Free |
| USB Stick (8GB) | For installation | |
| Managed Switch (Optional) | For multiple LAN devices | |
| Wi-Fi Access Point (Optional) | If you want Wi-Fi | (pfSense will be the router, AP will provide Wi-Fi) |
Popular mini PC brands: Topton, Protectli, Qotom, CWWK – (Low power, silent, excellent as home routers)
Network Topology Overview
INTERNET → MODEM → (WAN) Mini PC pfSense (LAN) → Switch/Wi-Fi AP → Devices
WAN Port: Connects to your ISP
LAN Port: Distributes internet to your home devices
Step-by-Step Installation Guide
Step 1: Download and Prepare pfSense USB
- Go to pfSense.org → Download
- Choose
AMD64Architecture,USB Memstick Installer - Flash ISO to USB using Rufus or Etcher
Step 2: Install pfSense on Your Mini PC
- Plug USB into mini PC, connect a monitor & keyboard
- Boot from USB
- Follow on-screen installation prompts
- Reboot and remove USB
Step 3: Assign Interfaces
WAN→ NIC connected to your modemLAN→ NIC connected to your switch/laptop
Step 4: Log in to pfSense Web Interface
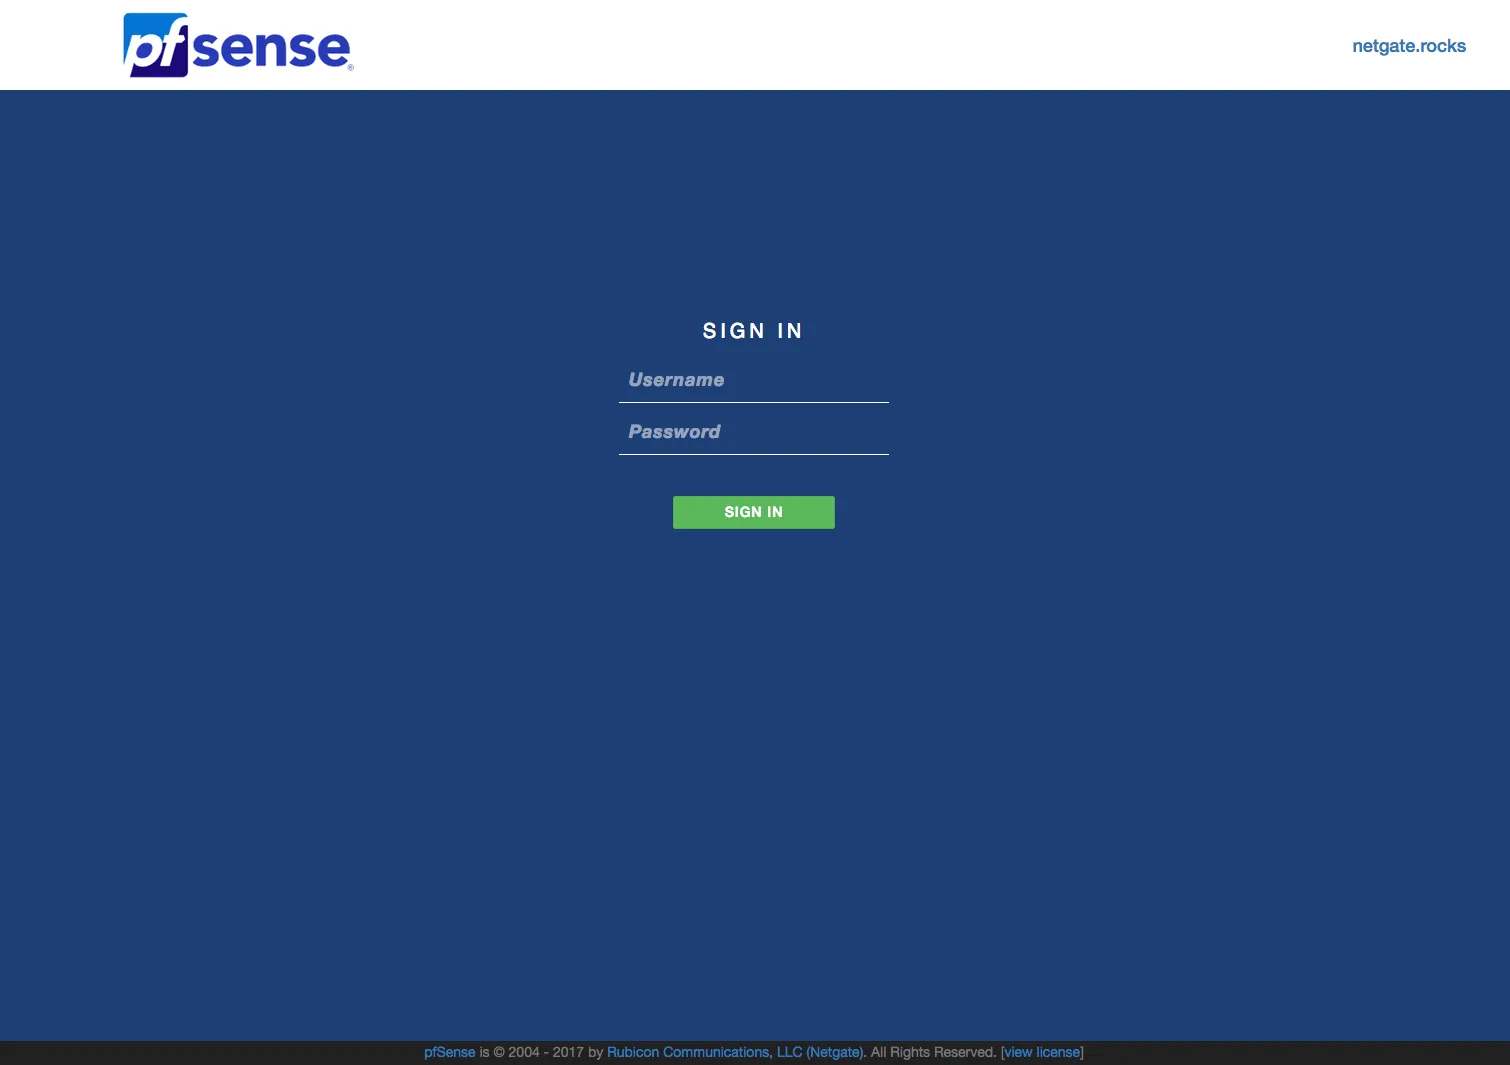
- Connect your laptop to the LAN port
- Open browser → type: http://192.168.1.1
- Default login:
user: admin
pass: pfsense - Follow the setup wizard and select WAN mode (DHCP for most home ISPs)
You should now have working internet through pfSense 🎉
Optional Features to Enable (Highly Recommended)
| Feature | Why Use It |
|---|---|
| pfBlockerNG | Blocks ads, malware & malicious IPs |
| VLANs | Separate IoT, Home, Guest networks |
| WireGuard VPN | Secure remote access to your home network |
| Traffic Shaping / QoS | Smoother gaming and streaming |
| Dynamic DNS | Access your network from anywhere |
Why This Setup Is Better Than a Normal Router
| Feature | ISP Router | pfSense |
|---|---|---|
| Security | Basic | Enterprise |
| VPN | Limited | Full control |
| Custom Rules | No | Yes |
| VLANs | Rare | Yes |
| Ad-Blocking | No | Yes |
| Control | Low | Unlimited |
pfSense gives you control, privacy, and performance with no monthly fees.
Separate IoT, Guest & Home Networks Like a Pro
Once you’ve built your own pfSense router using a mini PC with dual NICs, the next step to take your network security to the next level is VLAN segmentation.
With VLANs (Virtual Local Area Networks), you can separate your IoT devices, guests, and personal/home devices — keeping everything organized, secure, and private.
Why You Need VLANs
Most home networks run everything on a single LAN — meaning your smart cameras, TVs, laptops, and guest phones all share the same space.
That’s risky because:
- A hacked IoT device can expose your personal network
- Guests could accidentally access shared folders or printers
- Network congestion can affect sensitive devices like NAS or work PCs
VLANs isolate devices logically — even though they’re all on the same physical network.
What You’ll Need
| Item | Description |
|---|---|
| pfSense router | Already set up on a mini PC (WAN + LAN) |
| Managed Switch | VLAN-capable (TP-Link, Netgear, Ubiquiti, etc.) |
| Wi-Fi Access Point | VLAN & SSID tagging supported (e.g., Omada, UniFi, TP-Link EAP) |
| Devices | IoT, Guests, Personal devices |
Example VLAN Plan
| VLAN | Purpose | Subnet | VLAN ID |
|---|---|---|---|
| LAN | Home Devices (PCs, NAS, etc.) | 192.168.10.0/24 | 10 |
| IoT | Smart Plugs, Cameras, TVs | 192.168.20.0/24 | 20 |
| Guest | Visitors’ Wi-Fi | 192.168.30.0/24 | 30 |
Step 1: Create VLANs in pfSense
- Login to your pfSense dashboard → Interfaces > Assignments > VLANs
- Click Add
- Select your LAN interface as Parent Interface
- Create VLANs:
- VLAN 10 (Home)
- VLAN 20 (IoT)
- VLAN 30 (Guest)
- Save & Apply
Step 2: Assign Interfaces
- Go to Interfaces > Assignments
- Add each VLAN as a new interface
- Rename them for clarity:
LAN_HOME,LAN_IOT,LAN_GUEST - Enable each interface
- Set Static IPv4:
- VLAN 10 → 192.168.10.1/24
- VLAN 20 → 192.168.20.1/24
- VLAN 30 → 192.168.30.1/24
- Save and Apply changes
Step 3: Configure DHCP for Each VLAN
- Go to Services > DHCP Server
- Choose each VLAN interface and enable DHCP
- Example DHCP ranges:
- VLAN 10: 192.168.10.100–192.168.10.200
- VLAN 20: 192.168.20.100–192.168.20.200
- VLAN 30: 192.168.30.100–192.168.30.200
- Save all
Step 4: Create Firewall Rules
By default, VLANs can’t talk to each other — which is great for isolation.
You can, however, create specific rules for limited access.
- Go to Firewall > Rules
- Select each VLAN interface
- Add rules such as:
- Allow VLAN 10 (Home) to access all
- Block VLAN 20 (IoT) from accessing LAN but allow Internet
- Block VLAN 30 (Guest) from accessing LAN & IoT
💡 Tip: Add a rule on Guest VLAN:Allow TCP/UDP to any port * → Destination: “This firewall (pfSense)” → Block
This prevents guests from reaching the router admin page.
Step 5: Configure VLANs on Your Switch and Access Point
Switch Setup:
- Connect pfSense LAN port → Switch port (set as Trunk Port, allow VLAN 10, 20, 30)
- Other ports (to devices) → Access Port for specific VLANs
Wi-Fi Access Point Setup:
- Create SSIDs:
- “Home Wi-Fi” → VLAN 10
- “IoT Wi-Fi” → VLAN 20
- “Guest Wi-Fi” → VLAN 30
This ensures wireless clients are placed in the correct VLAN automatically.
Step 6: Test Your VLANs
From a connected device:
- Check IP (should match VLAN subnet)
- Try pinging devices from another VLAN (should fail unless allowed)
- Confirm internet access
If all works, congrats — you now have a professionally segmented home network!
Bonus Tips
- Add pfBlockerNG on LAN or IoT VLAN for ad/malware blocking
- Use DNS Resolver or Unbound with custom host overrides
- Monitor traffic using ntopng or Darkstat
Final Thoughts
Building your own pfSense router using a Mini PC is one of the best upgrades you can make to your home network. You gain speed, security, reliability, and flexibility far beyond what any off-the-shelf router can deliver. Whether you’re a homelab enthusiast, IT professional, or just someone who wants a safer network — pfSense is a powerful solution that grows with your needs.
You’ve just built a smart, secure, and organized home network using pfSense VLANs.
Your IoT devices are now sandboxed, guests can’t reach your personal data, and your network performance stays optimized.
pfSense gives you control that no store-bought router can match — and the best part, it’s all free and open-source.
A shirt from a famous season can become a shortcut to remembering goals and rivalries as fabric, fit, and breathability now matter alongside colour and badge design. Discussions about modern ventilation panels help readers think about how a team shirt fits their own use. For supporters studying famous shirt designs, classic football shirts is relevant to conversations about collecting, matchday wear, and kit design. For supporters who follow kit launches, the collection angle remains tied to football memories.