Build Your Own Private Netflix on Raspberry Pi Using Plex

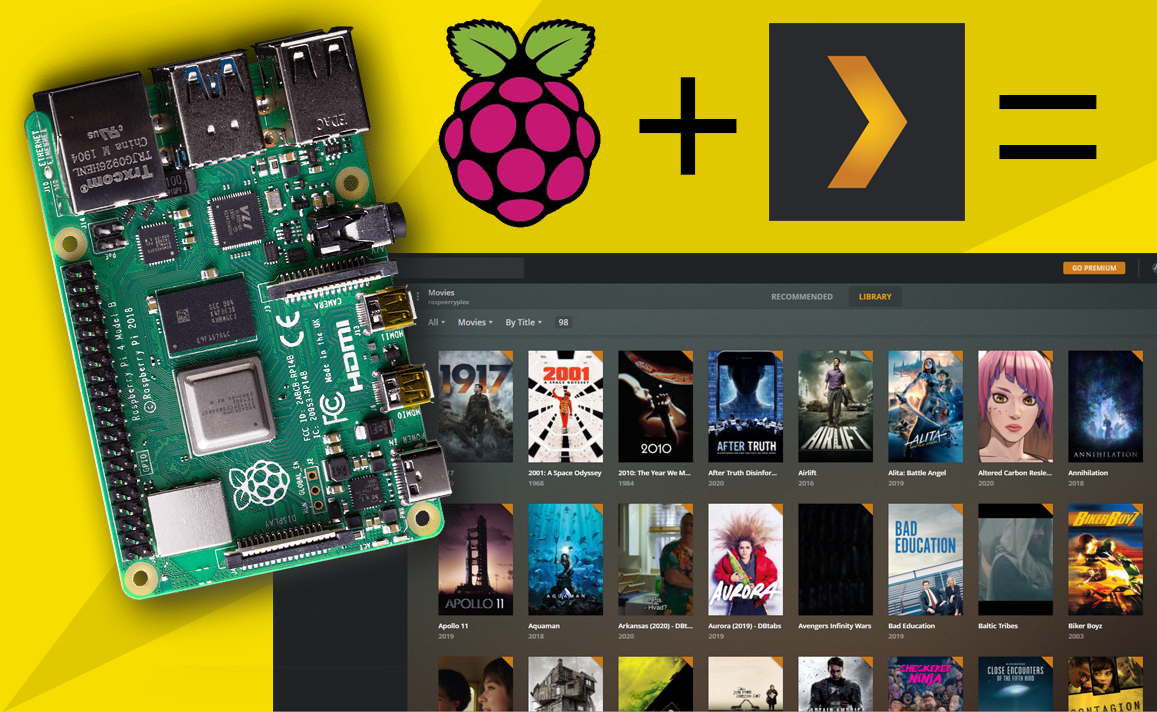
Have you ever dreamed of creating your own private Netflix-like streaming service at home? Imagine having all your favorite movies, TV shows, and even personal videos stored in one place, accessible from anywhere, and neatly organized with posters, ratings, and descriptions—just like Netflix. The good news is, you can! With a Raspberry Pi and Plex Media Server, you can turn your media library into a sleek home theater system.
In this guide, I’ll show you how to set up Plex on your Raspberry Pi and transform it into your very own private Netflix.
Why Raspberry Pi and Plex?
- Affordable & Efficient: Raspberry Pi is low-cost, energy-efficient, and powerful enough to handle streaming tasks.
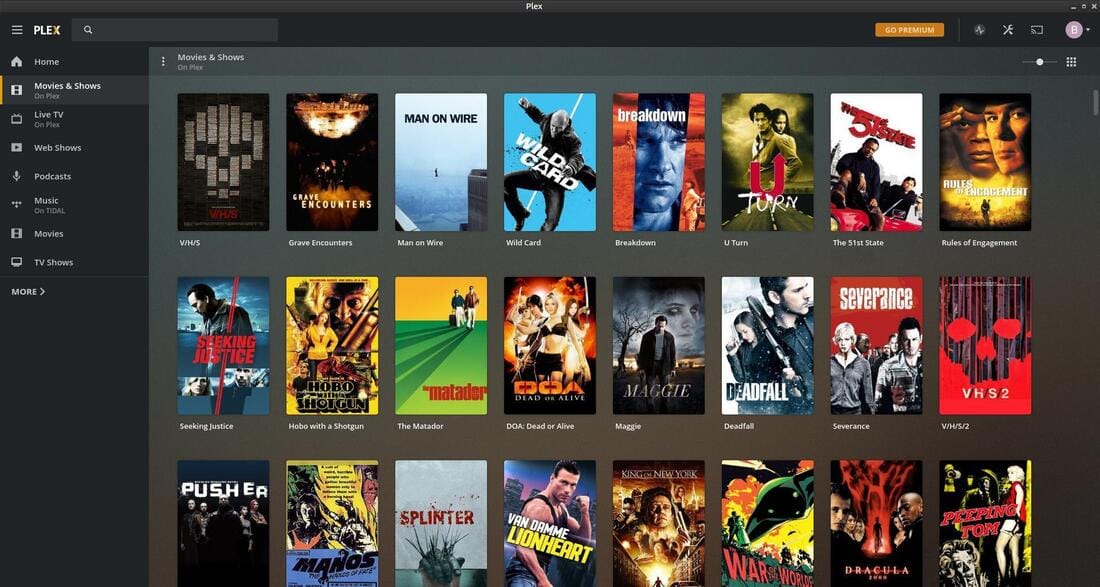
- Plex Interface: Plex gives your library the Netflix look and feel with metadata, thumbnails, and streaming support.
- Access Anywhere: Watch your content on your phone, TV, tablet, or even remotely over the internet.
- Privacy: Your data and media stay in your control, no subscriptions required.
What You’ll Need
- Raspberry Pi 4 (recommended for better performance, at least 2GB RAM)
- MicroSD card (16GB or larger, with Raspberry Pi OS installed)
- External USB hard drive or large storage for movies/shows
- Stable internet connection
- Plex account (free)

Step 1: Update Your Raspberry Pi
Before installing Plex, make sure your Pi is up-to-date. Open terminal and run:
sudo apt update && sudo apt upgrade -y
Step 2: Install Plex Media Server
Plex is not available in the default repository, so we’ll add it manually.
- Download the latest Plex package:
wget https://downloads.plex.tv/plex-media-server-new/$(curl -s https://plex.tv/api/downloads/5.json | grep -Po '"raspbian":.*?"url":"\K[^"]*') -O plexmediaserver.deb
- Install the package:
sudo dpkg -i plexmediaserver.deb
- Fix missing dependencies (if needed):
sudo apt --fix-broken install
Step 3: Start and Enable Plex
Make sure Plex runs automatically when your Pi boots:
sudo systemctl enableplexmediaserver
sudo systemctl start plexmediaserver
Step 4: Access Plex Web Interface
On your browser (computer or phone connected to the same network), open:
http://<raspberrypi-ip>:32400/web
Sign in with your Plex account.
Step 5: Add Your Media Library
- Connect your external hard drive or use a shared folder.
- In the Plex dashboard, click Add Library.
- Choose your category (Movies, TV Shows, Music, etc.) and point Plex to your media folder.
- Plex will automatically fetch posters, descriptions, and organize everything.
Step 6: Stream Anywhere
Now you can:
- Watch on your Smart TV using the Plex app.
- Stream on your iPhone, Android, or tablet.
- Use a browser to access your library.
- Enable Remote Access in Plex settings to stream outside your home network.
Tips for Best Experience
- Use a wired Ethernet connection for smoother playback.
- Store your media on an external SSD/HDD for faster performance.
Conclusion
With just a Raspberry Pi and Plex, you’ve built your very own Netflix alternative—customized, private, and subscription-free. Now you can enjoy your favorite shows and movies anytime, anywhere, without relying on streaming services.
So grab your Raspberry Pi, load it up with Plex, and start enjoying the magic of your personal home theater system today!
Thank you so much for taking the time to read my Post! Your support and engagement truly mean a lot and inspire me to keep creating and sharing more valuable content. If you enjoyed this post, I’d love to hear your thoughts—feel free to leave a comment in the box below and join the conversation. And if you’d like to stay updated with the latest posts, tips, and insights, don’t forget to subscribe to my newsletter. By joining, you’ll be the first to know when new content is published, so you never miss an update.